Do we have Aximmetry quad-link support for "AJA KONA 4 capture card" to get a 4K resolution?


Hi, all,

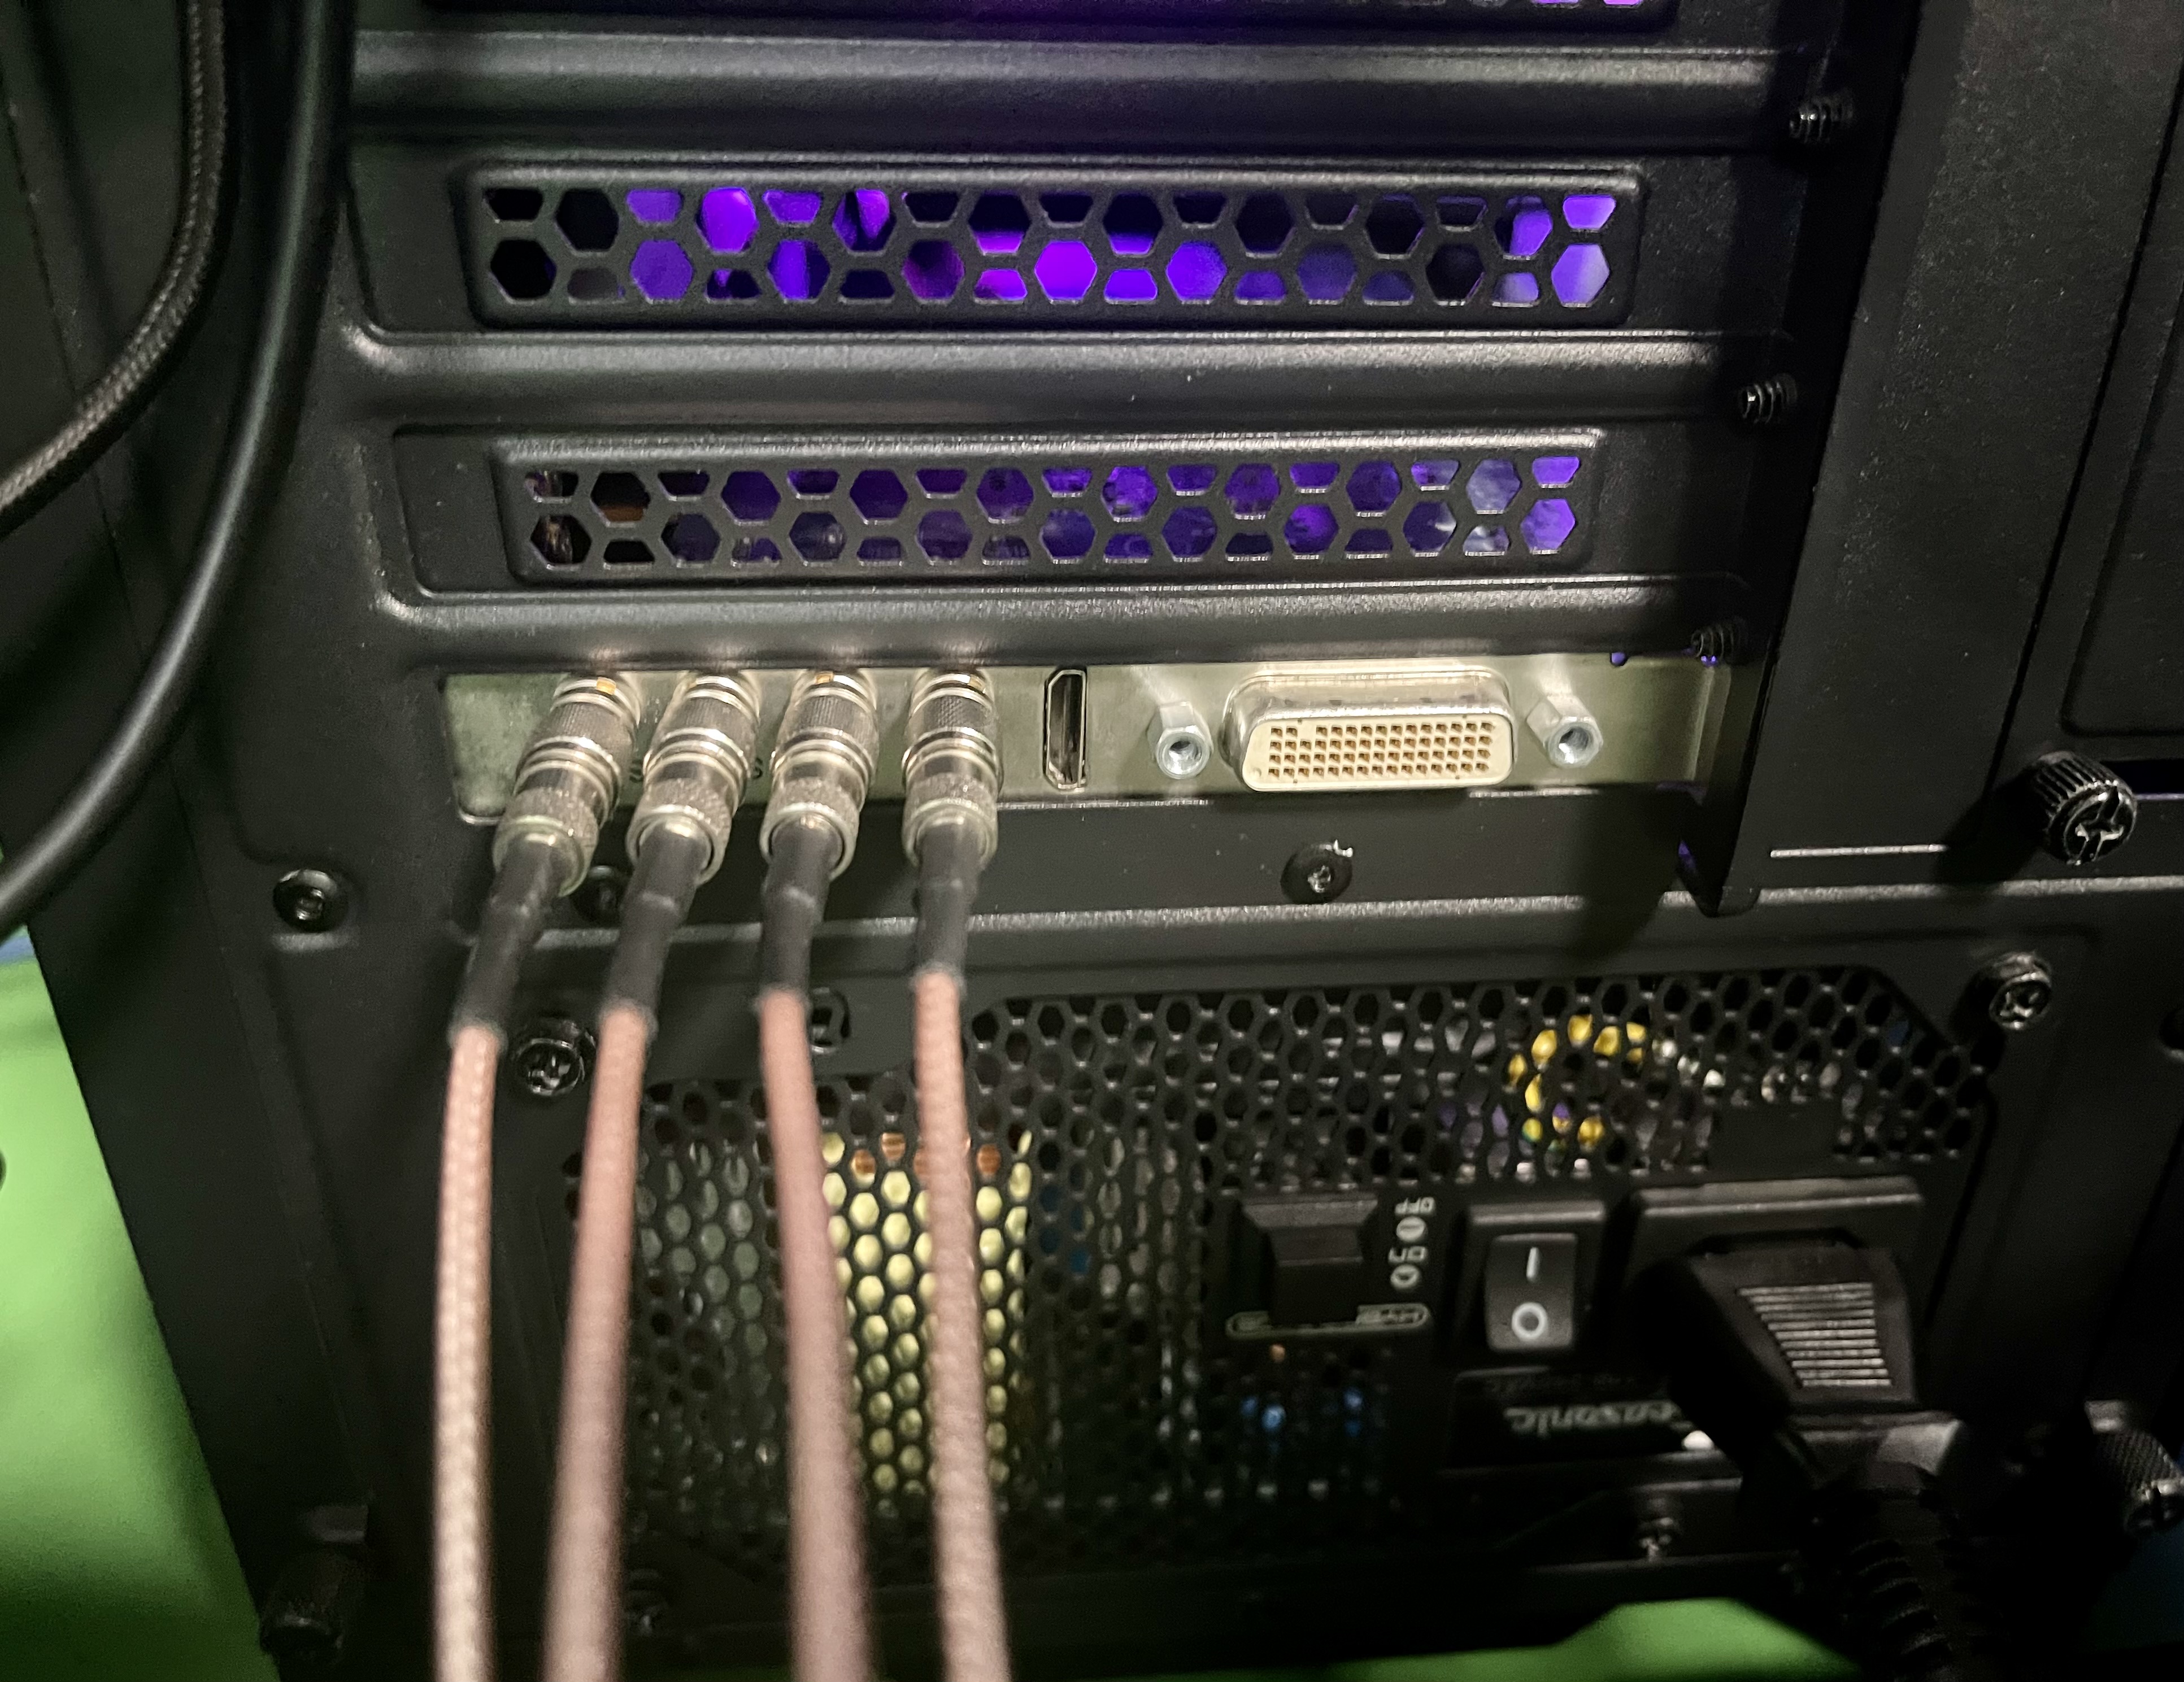
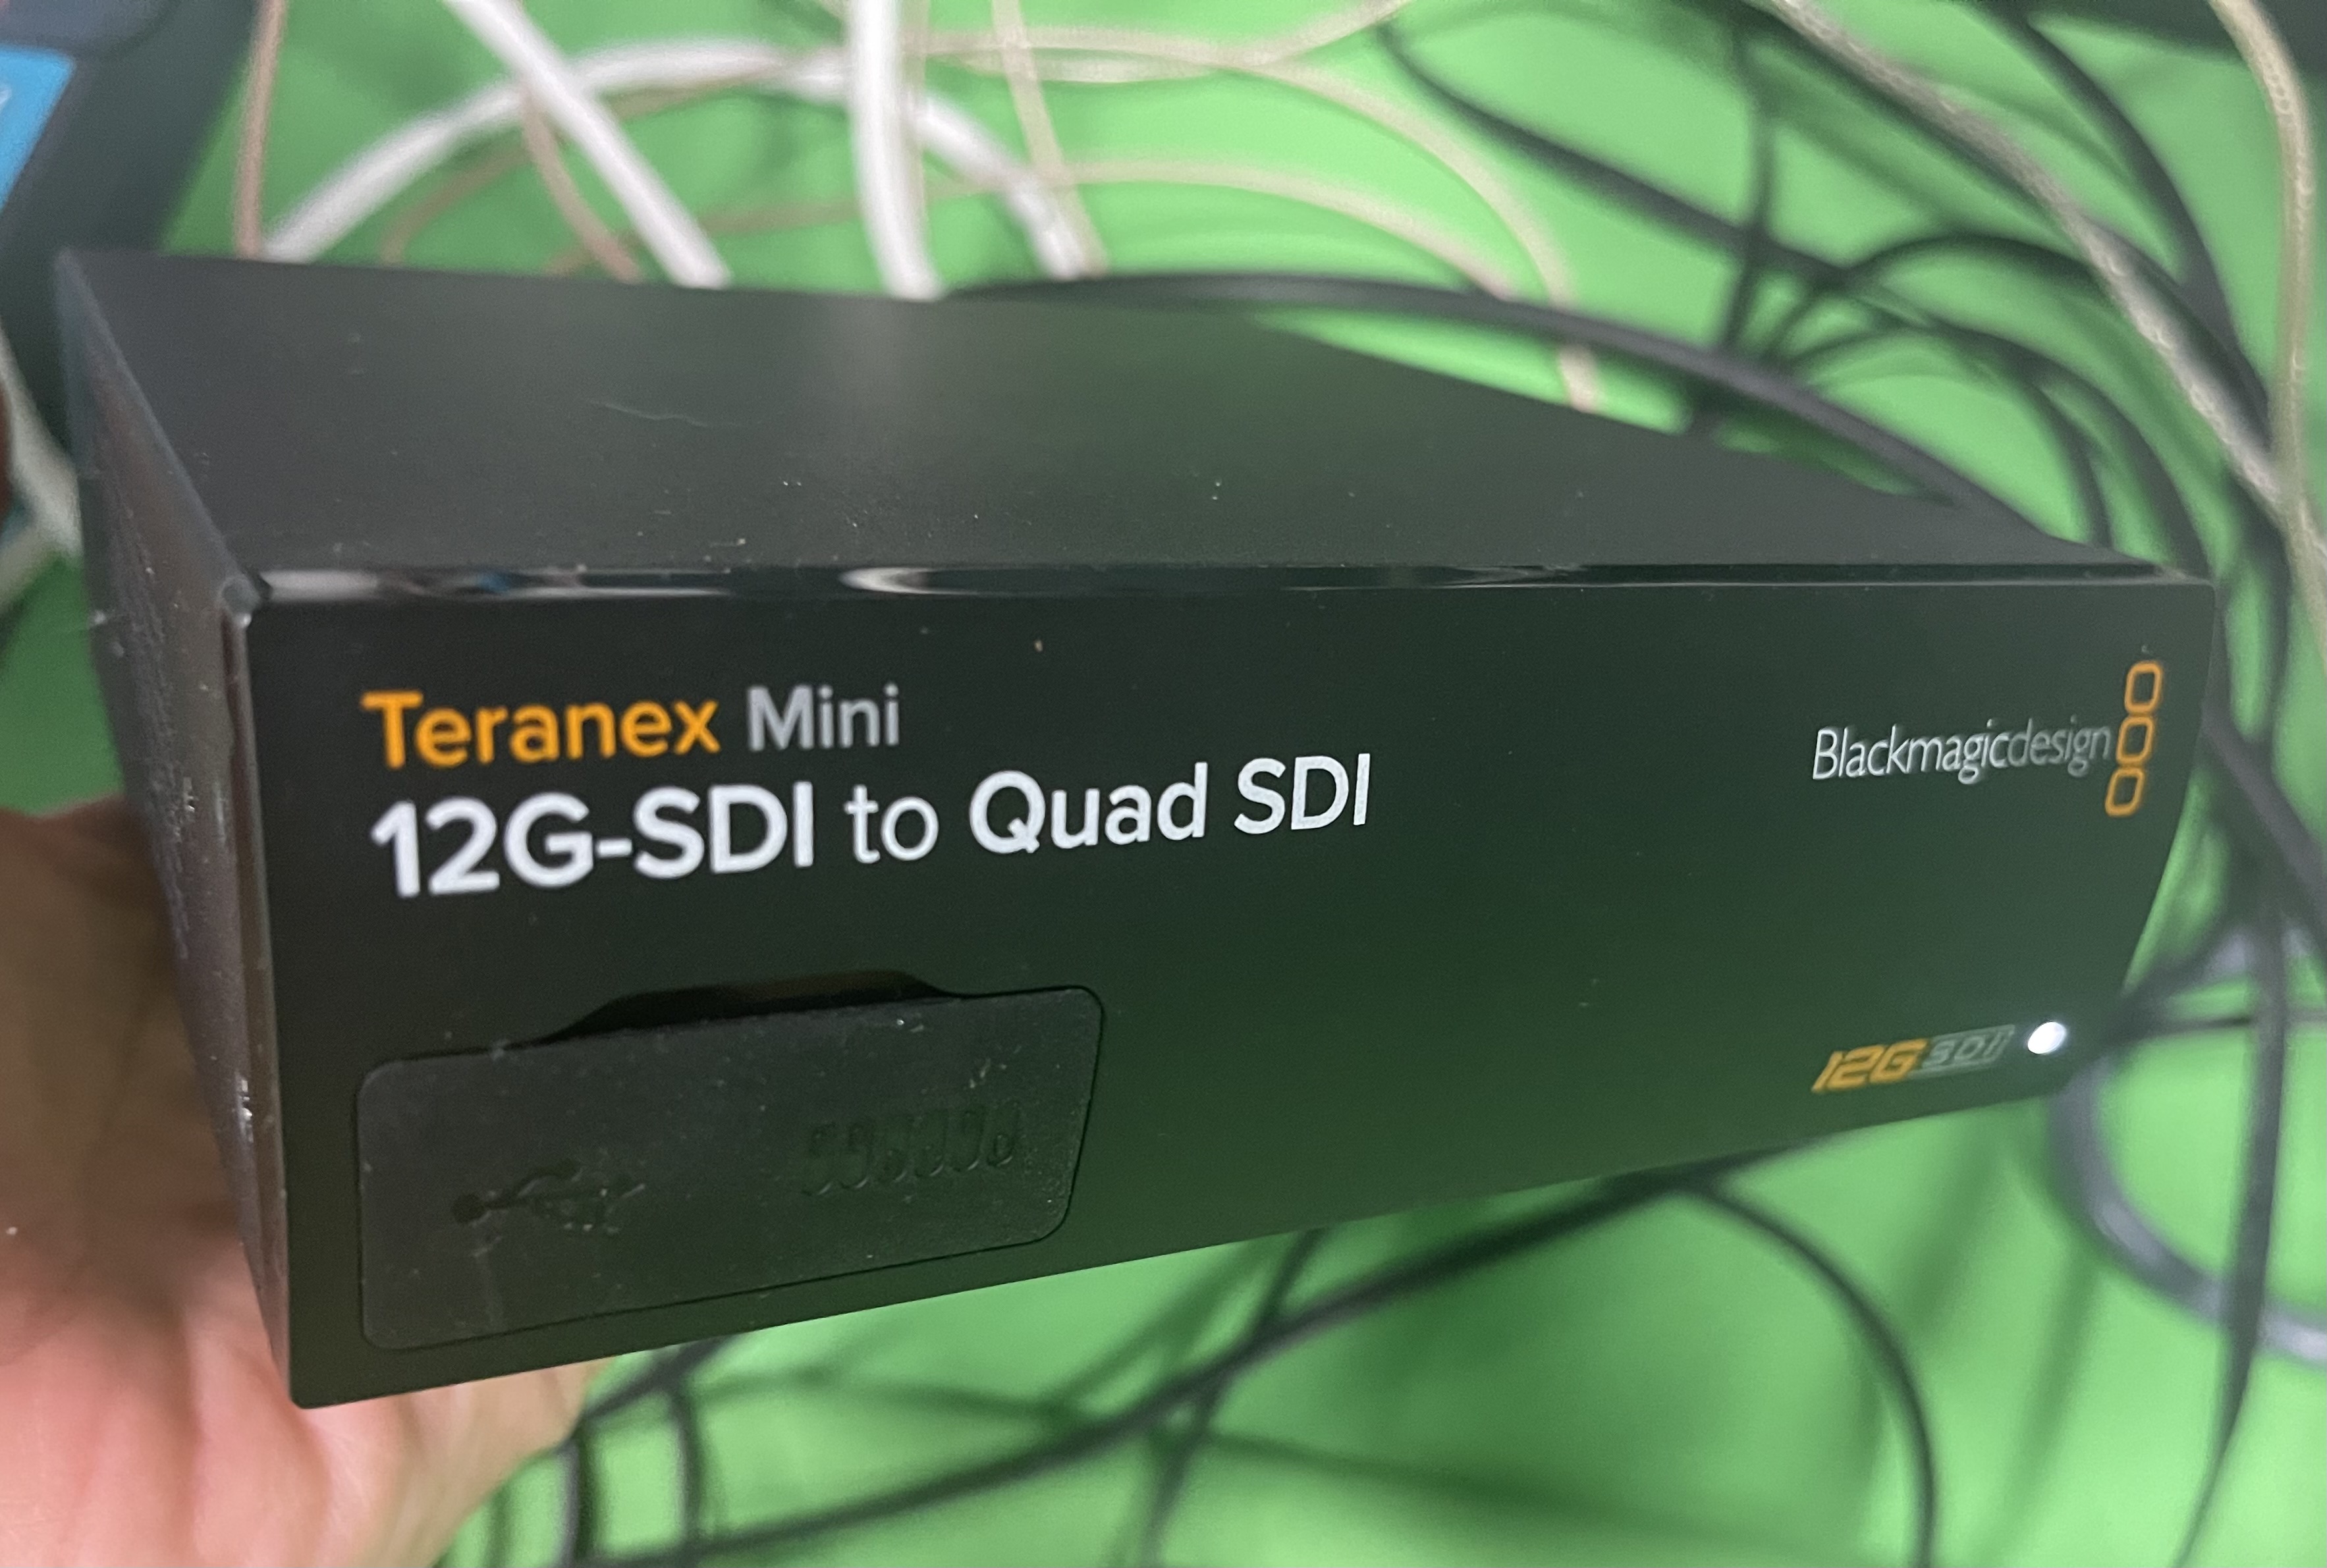
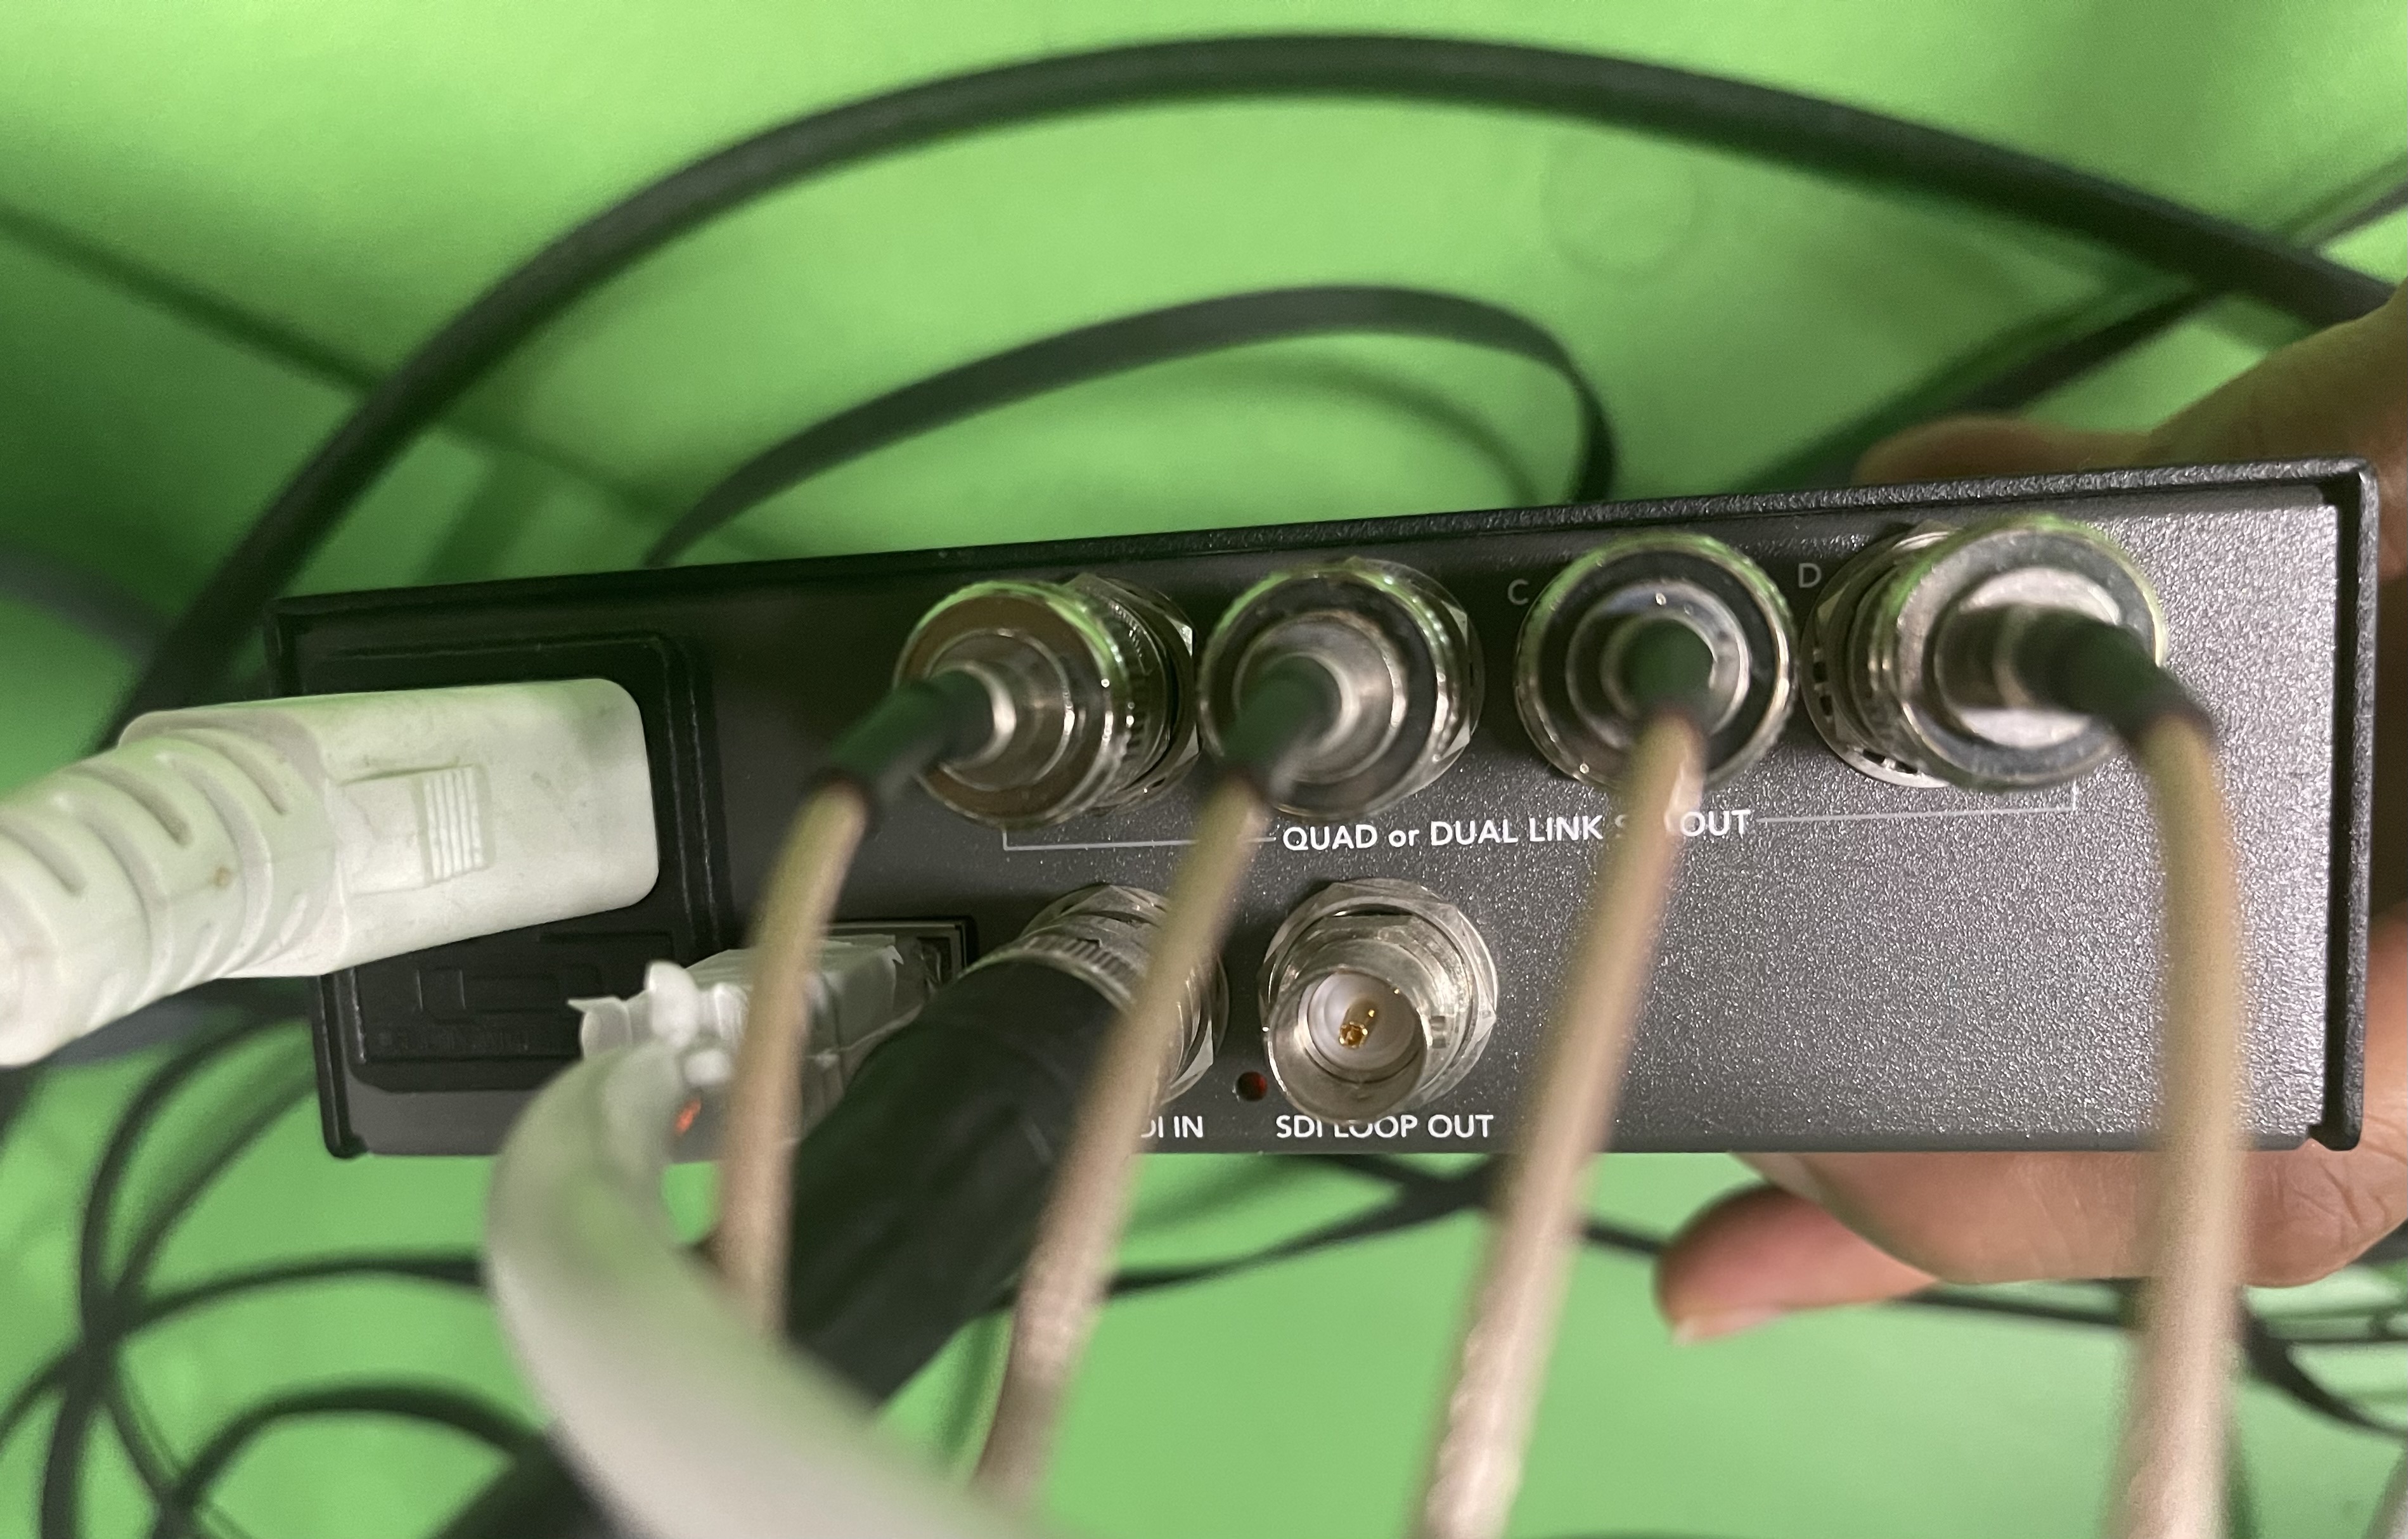
 I use AJA KONA 4 (video card) with 4 BNC SDI-3G signals inputting from a "Teranex Mini-12G SDI to Quad SDI" to get ONE 12G/4K signal from a BMD URSA. However I couldn't assemble the 4 SDI-3G signals via 4 AJA inputs in Aximmetry to get ONE 4K singal to feed a demanding compositing requirement.


I've searched the website and I didn't see any sort of update of Aximmetry quad-link support for "AJA capture card" as you guys did for Deltacast cards before in this post (https://my.aximmetry.com/post/1900-i-have-a-question-about-the-4k-setting ).  I just cannot find the solution on my end. Could you kindly send me the URL?

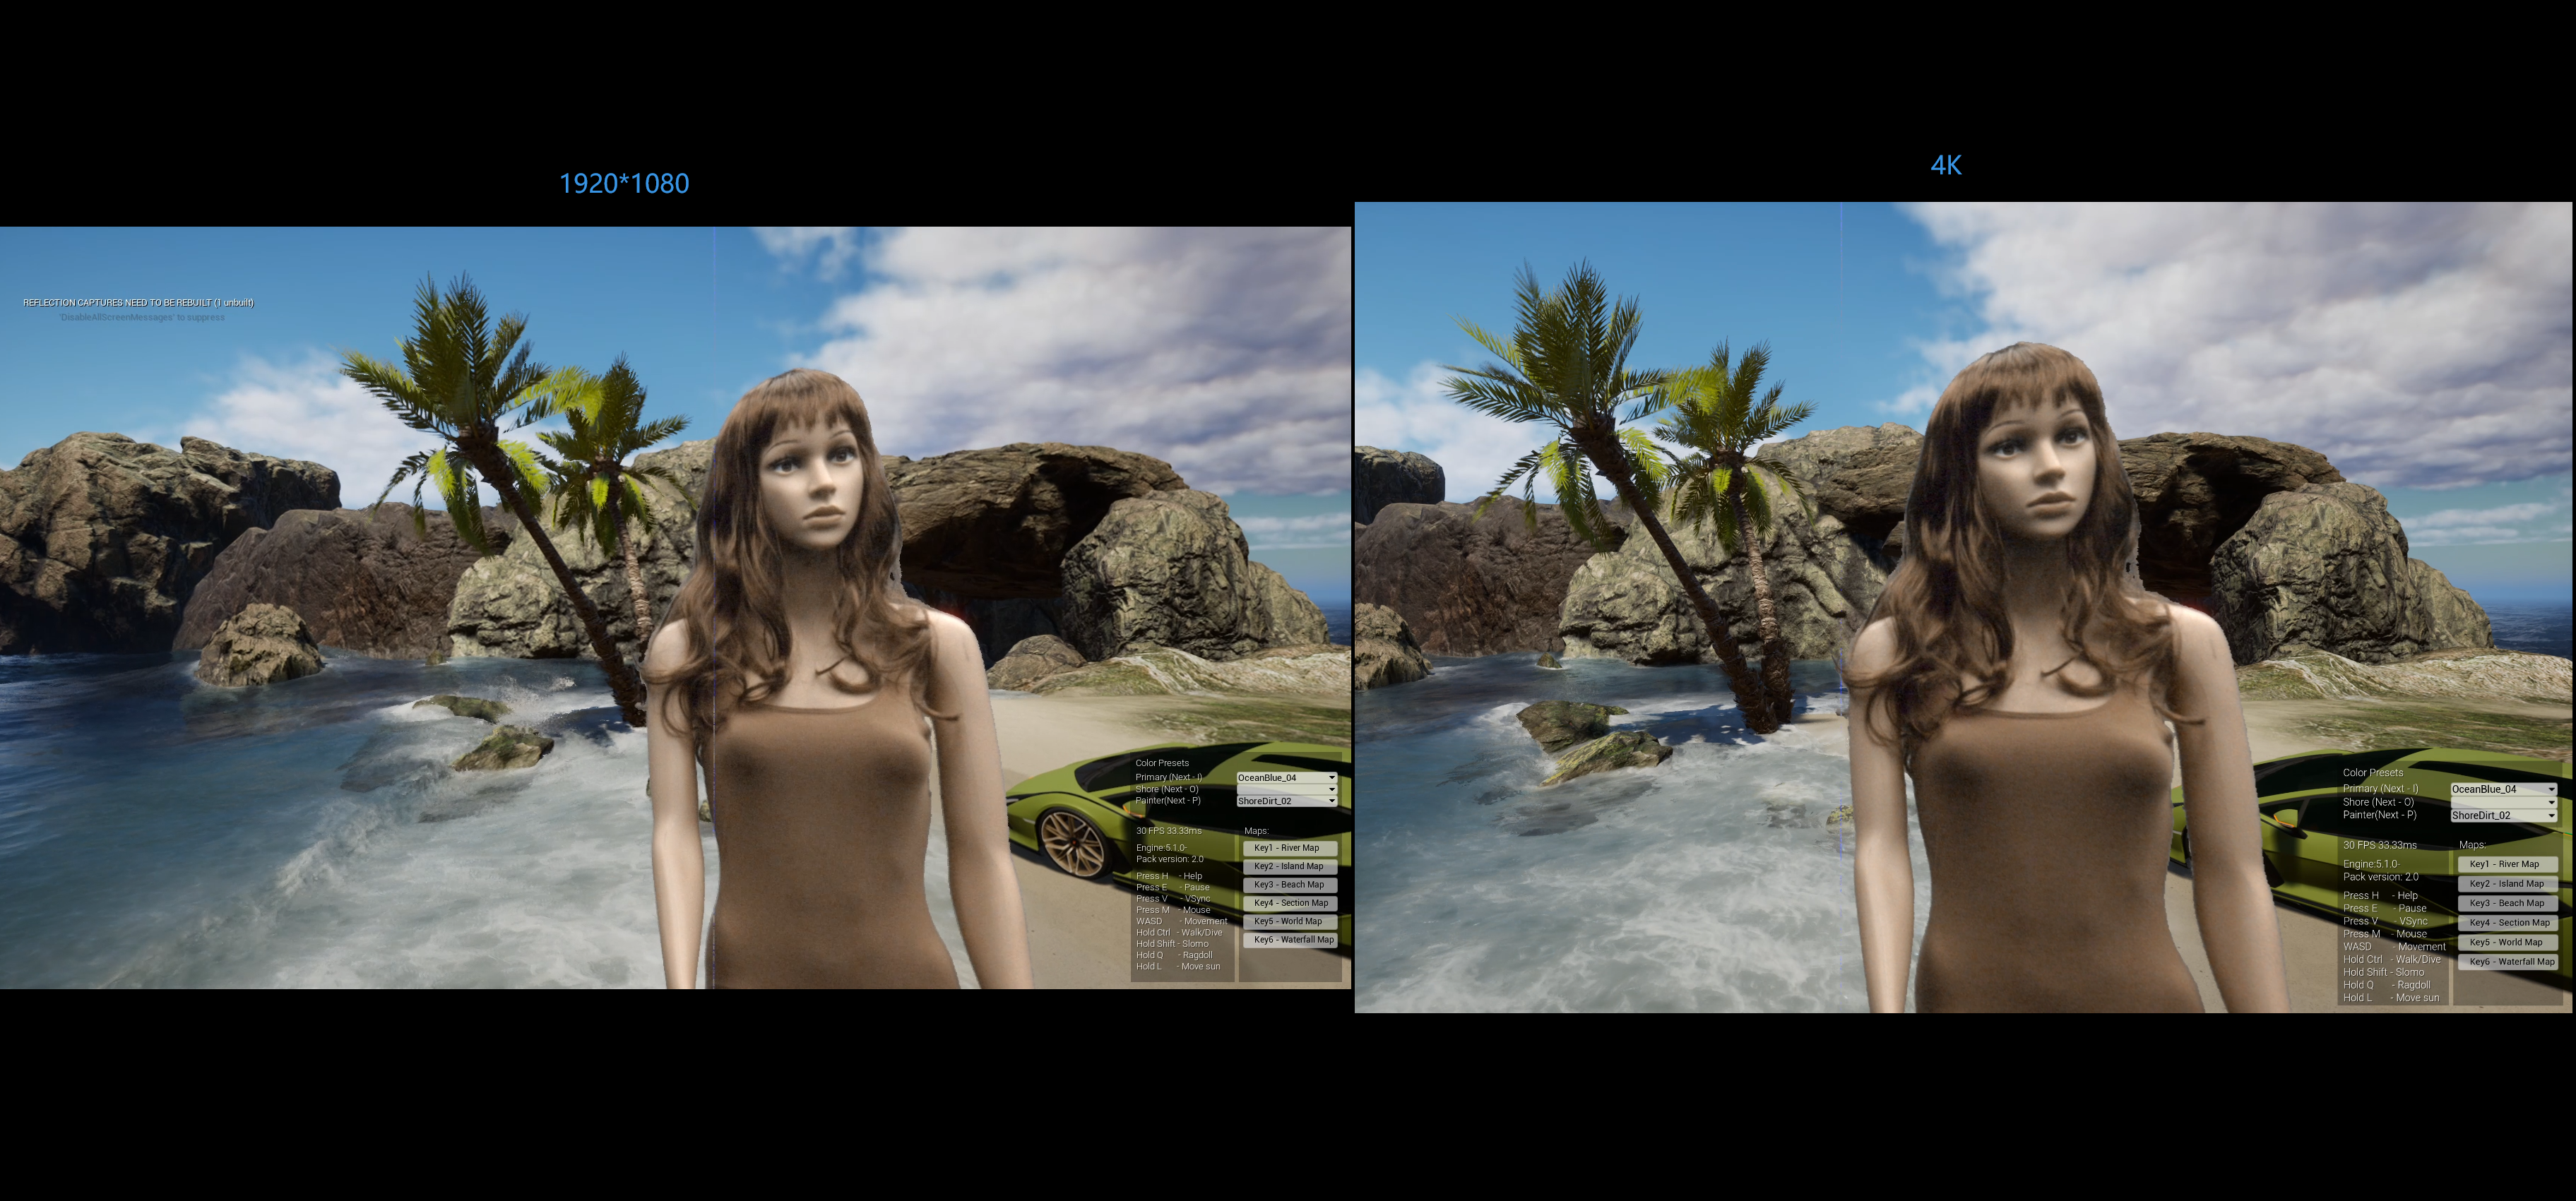
or Could you tell me how to solve the problem as we want a crisp and sharp 4K SIGNAL from the BMD URSA to be composited into the 3D environment in Aximmetry through the aforementioned hardware settings. Thank you!


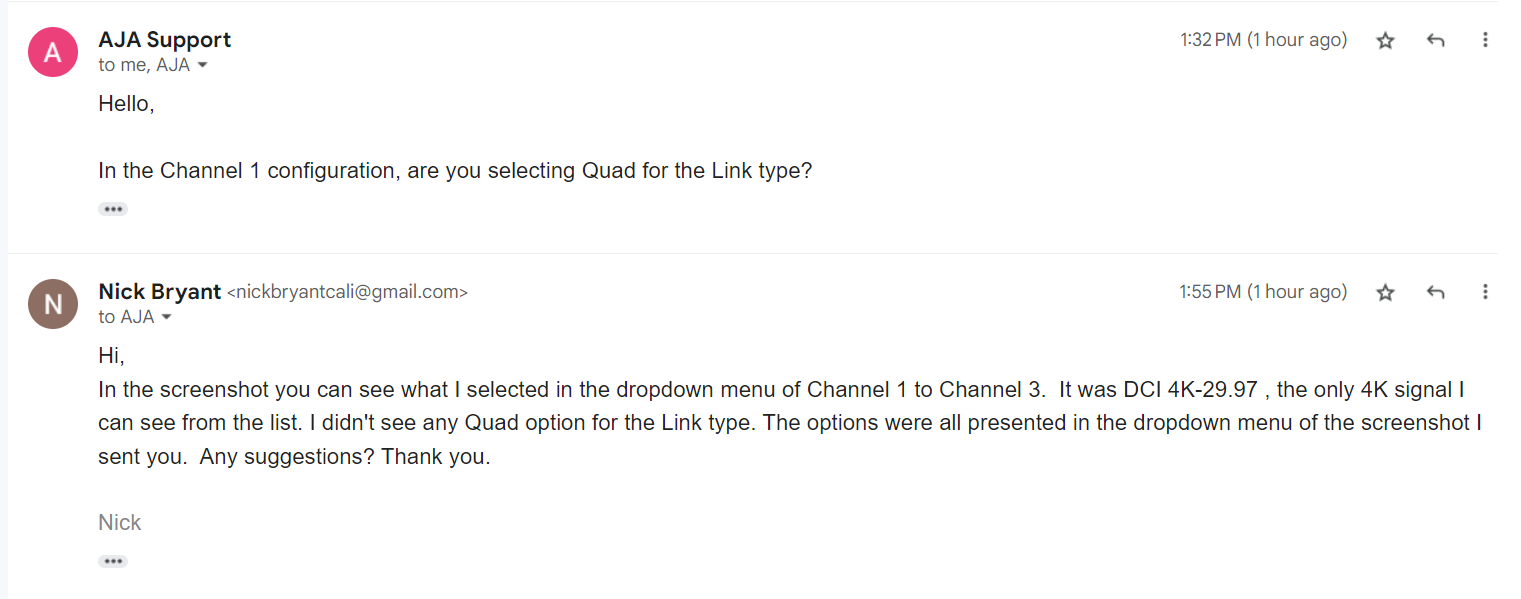
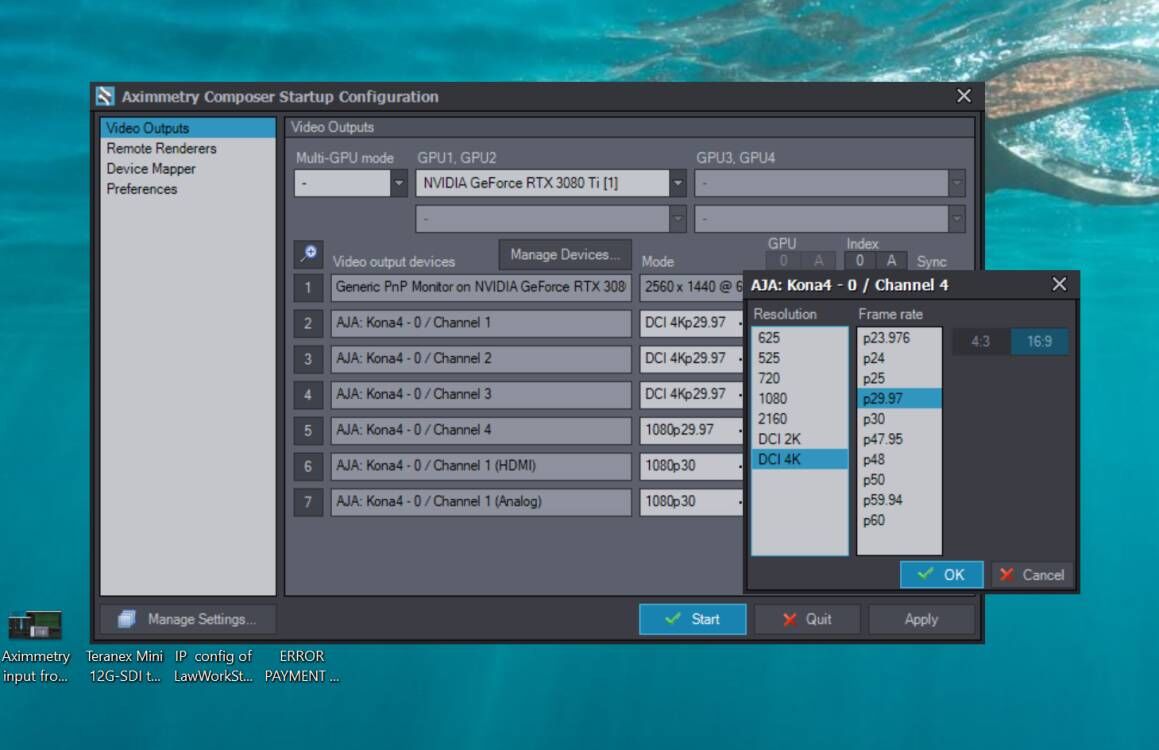
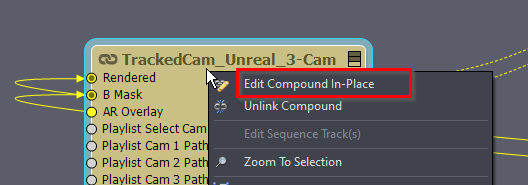
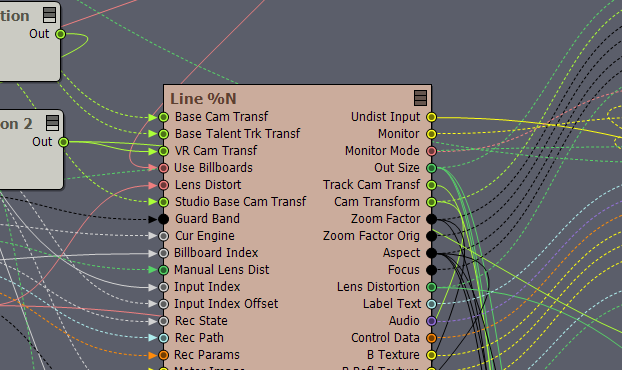
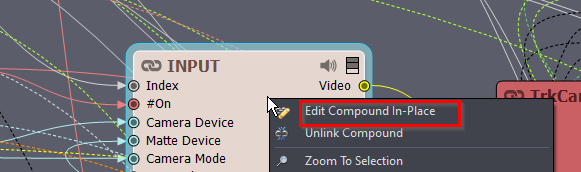
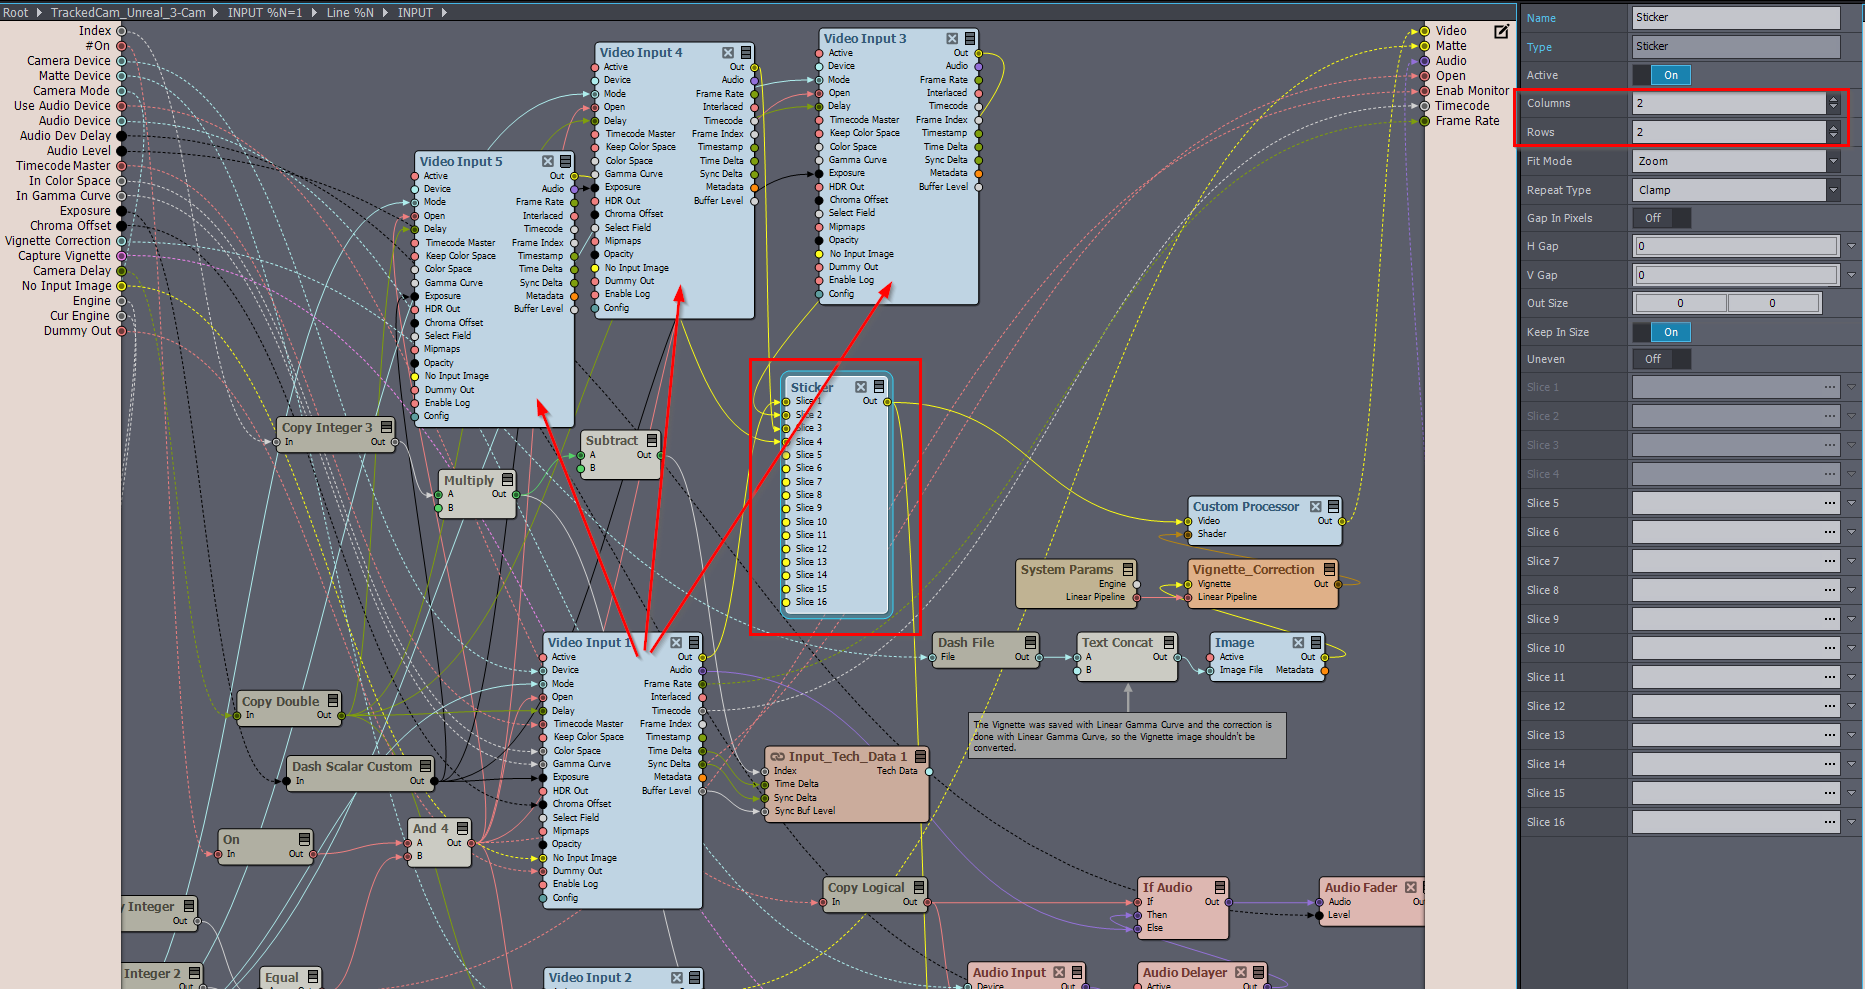
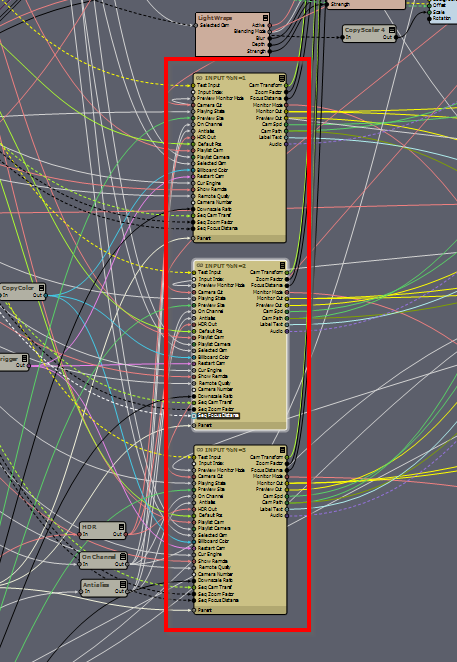
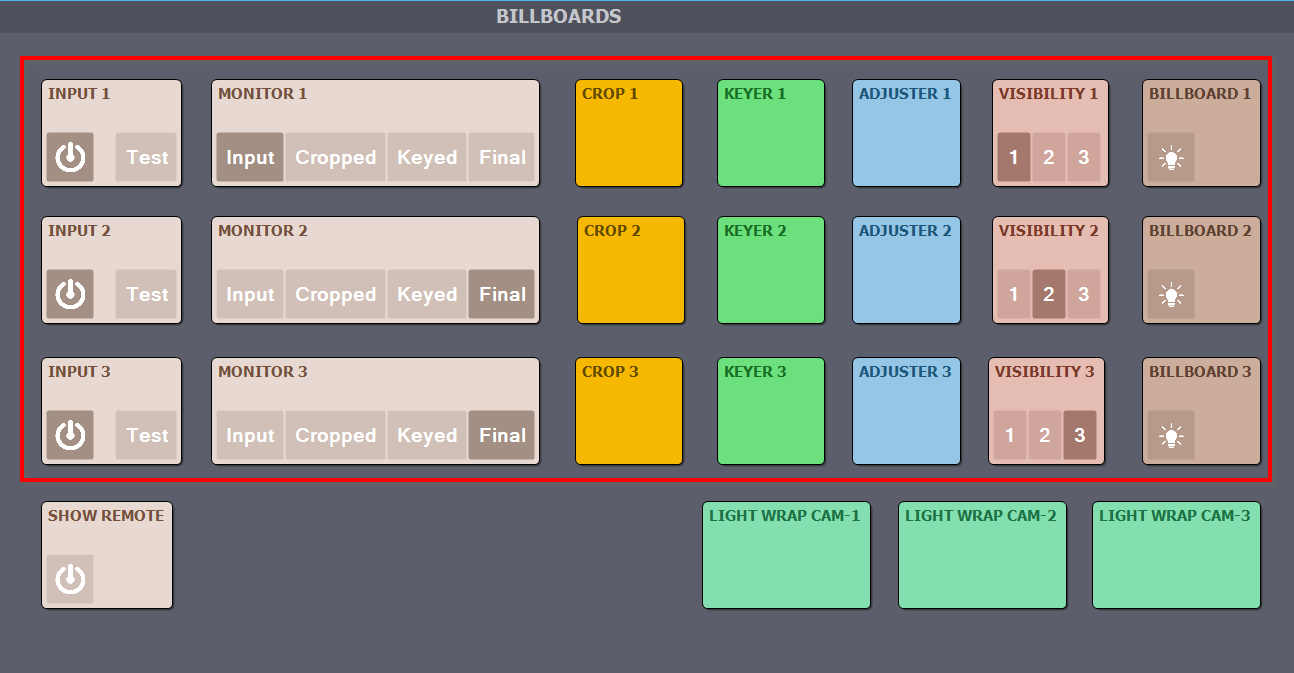
I've attached my UI Here FYI. 


FYI. Before sending my last post I just finished reviewing the AJA manual of the below version.

https://www.aja.com/assets/support/files/7917/en/AJA_Manual_KONA-Series_v16.0.pdf 

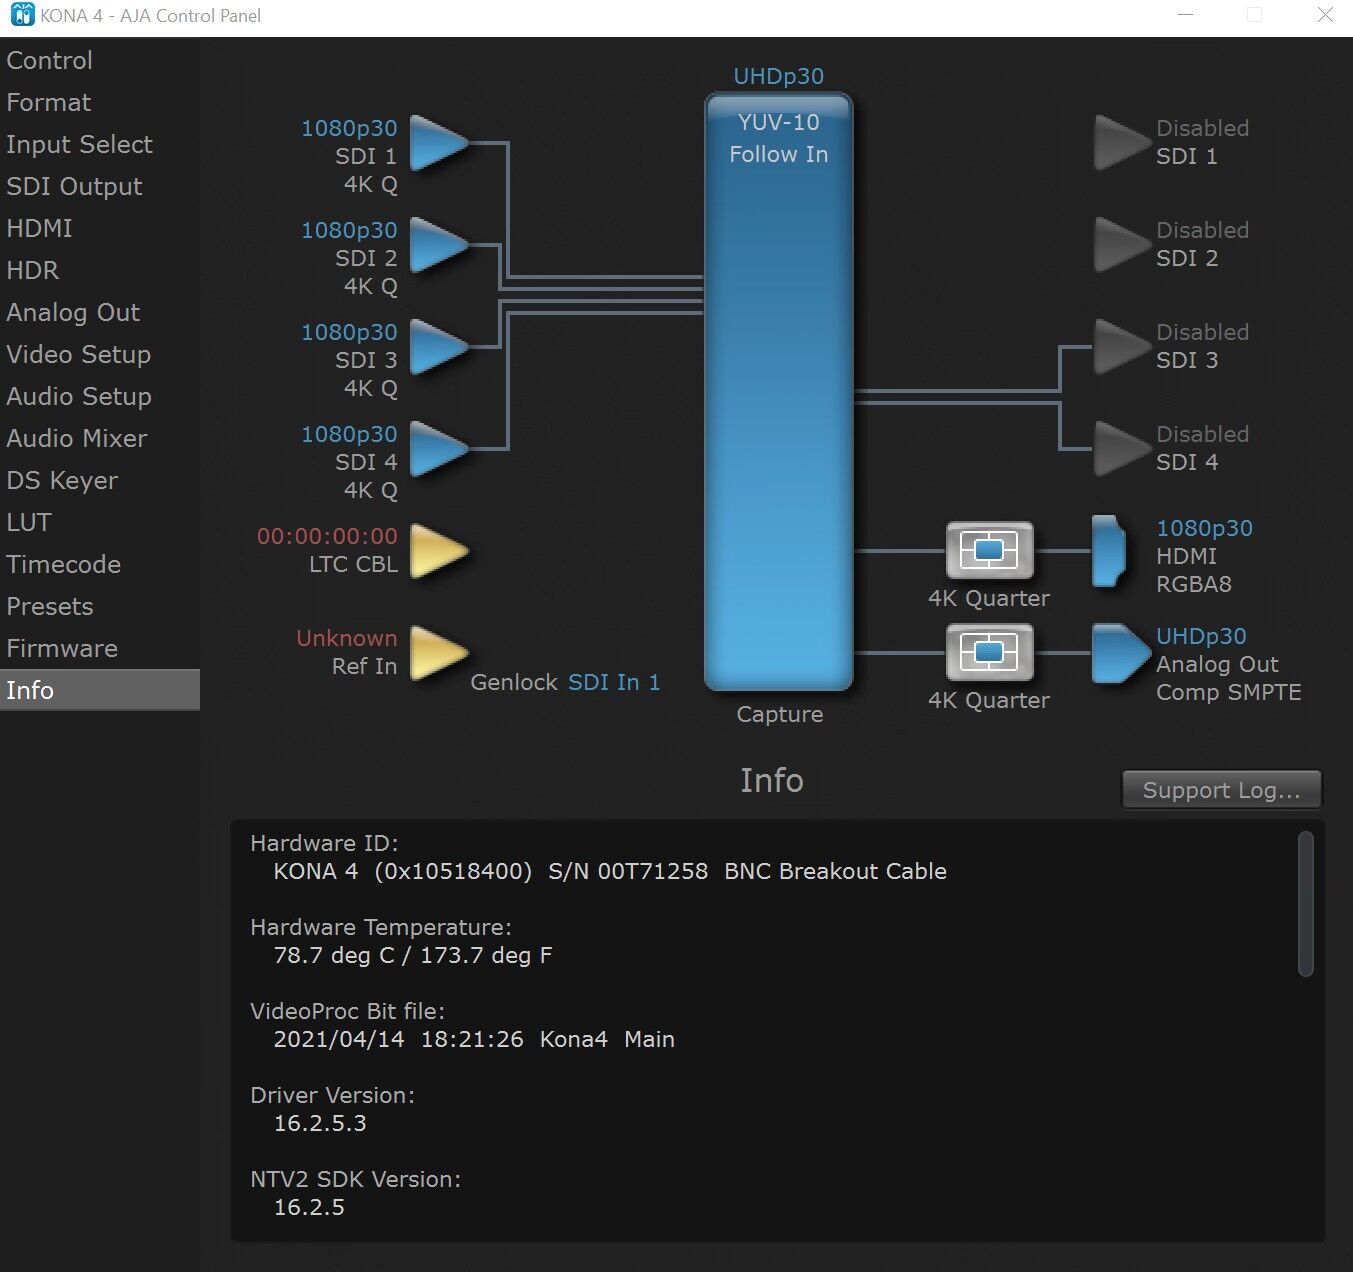
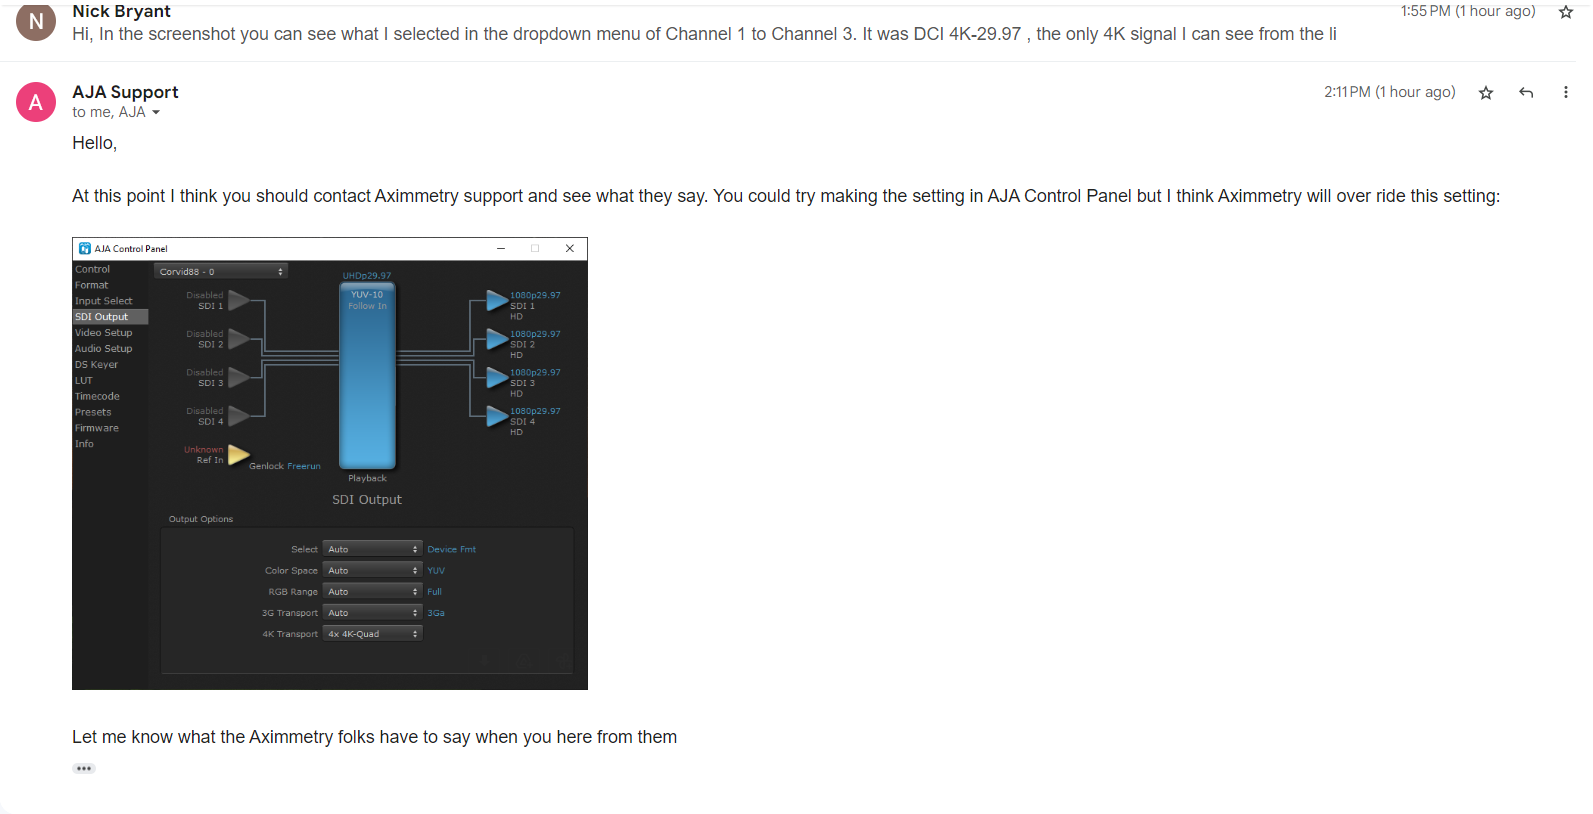
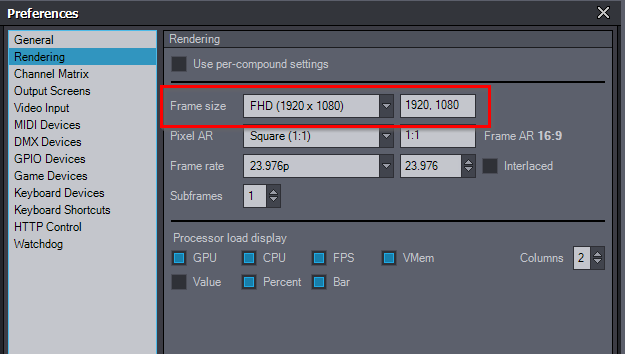
And I didn't see the info. related to the question I raised in the -100 pages.  FYI, 4K (the up-to-date) Firmware Ver. was always on my AJA setting, you can see it from my screenshot below. That's why I wonder if this is a software matter or a hardware matter?  Or if it is a matter of updating Aximmetry quad-link support for "AJA capture card" ?


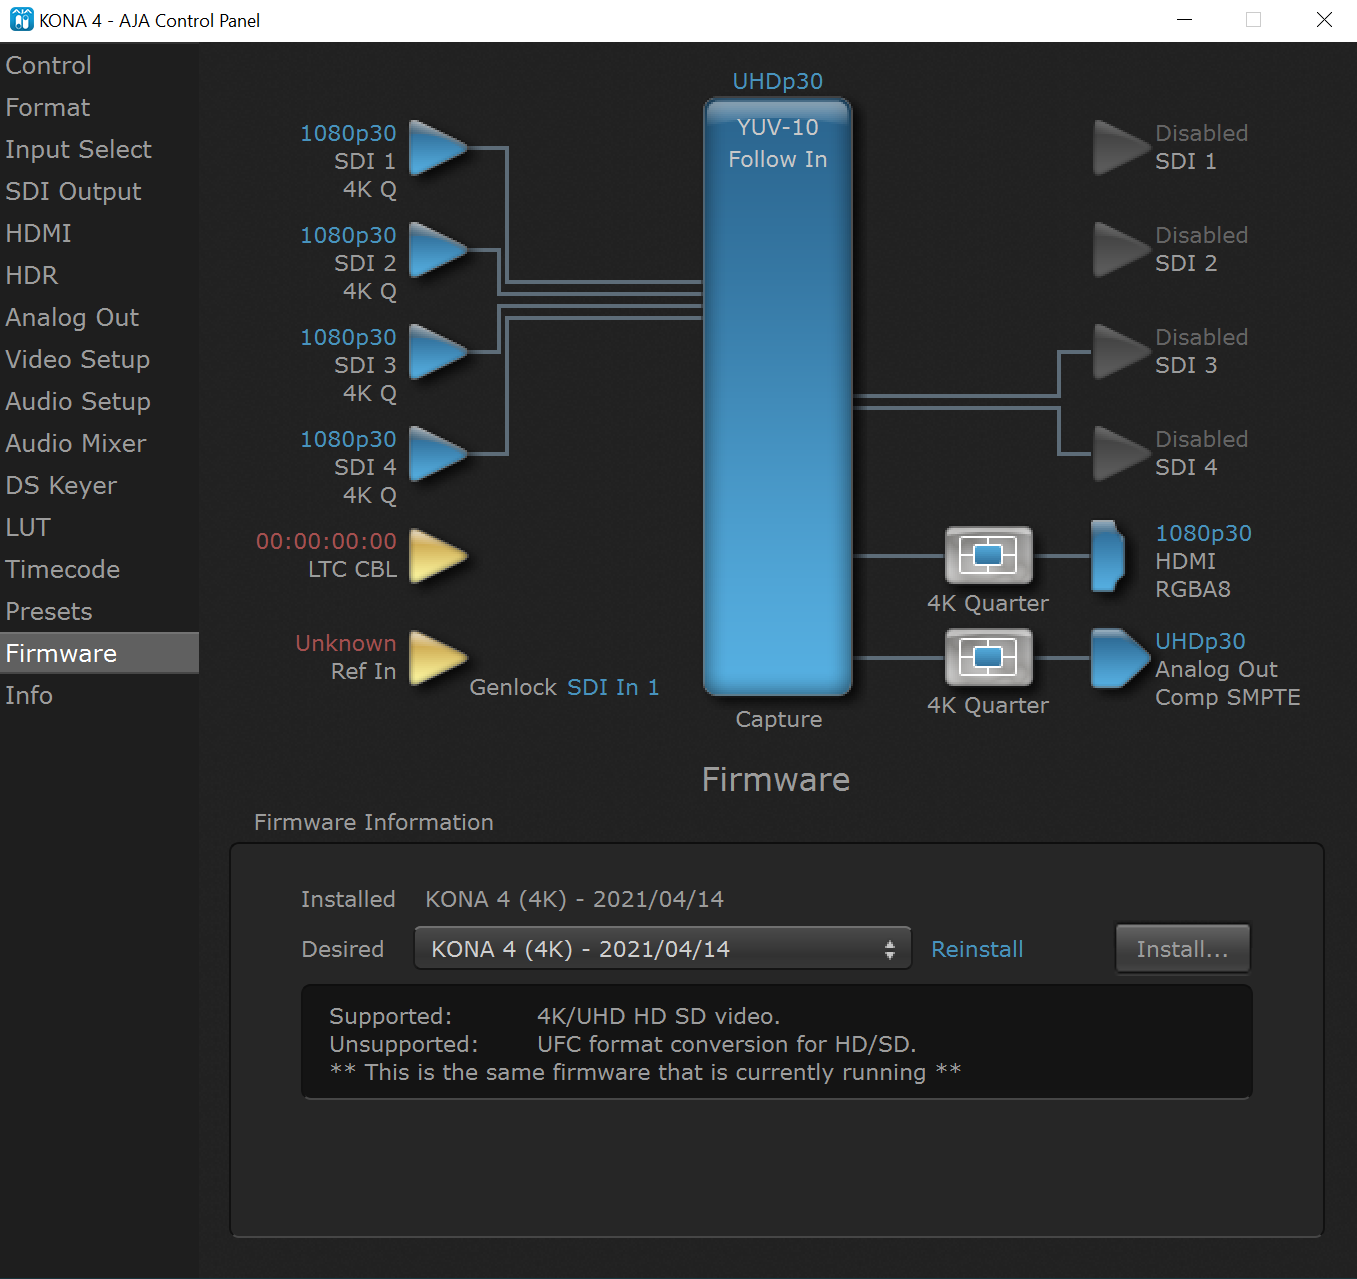
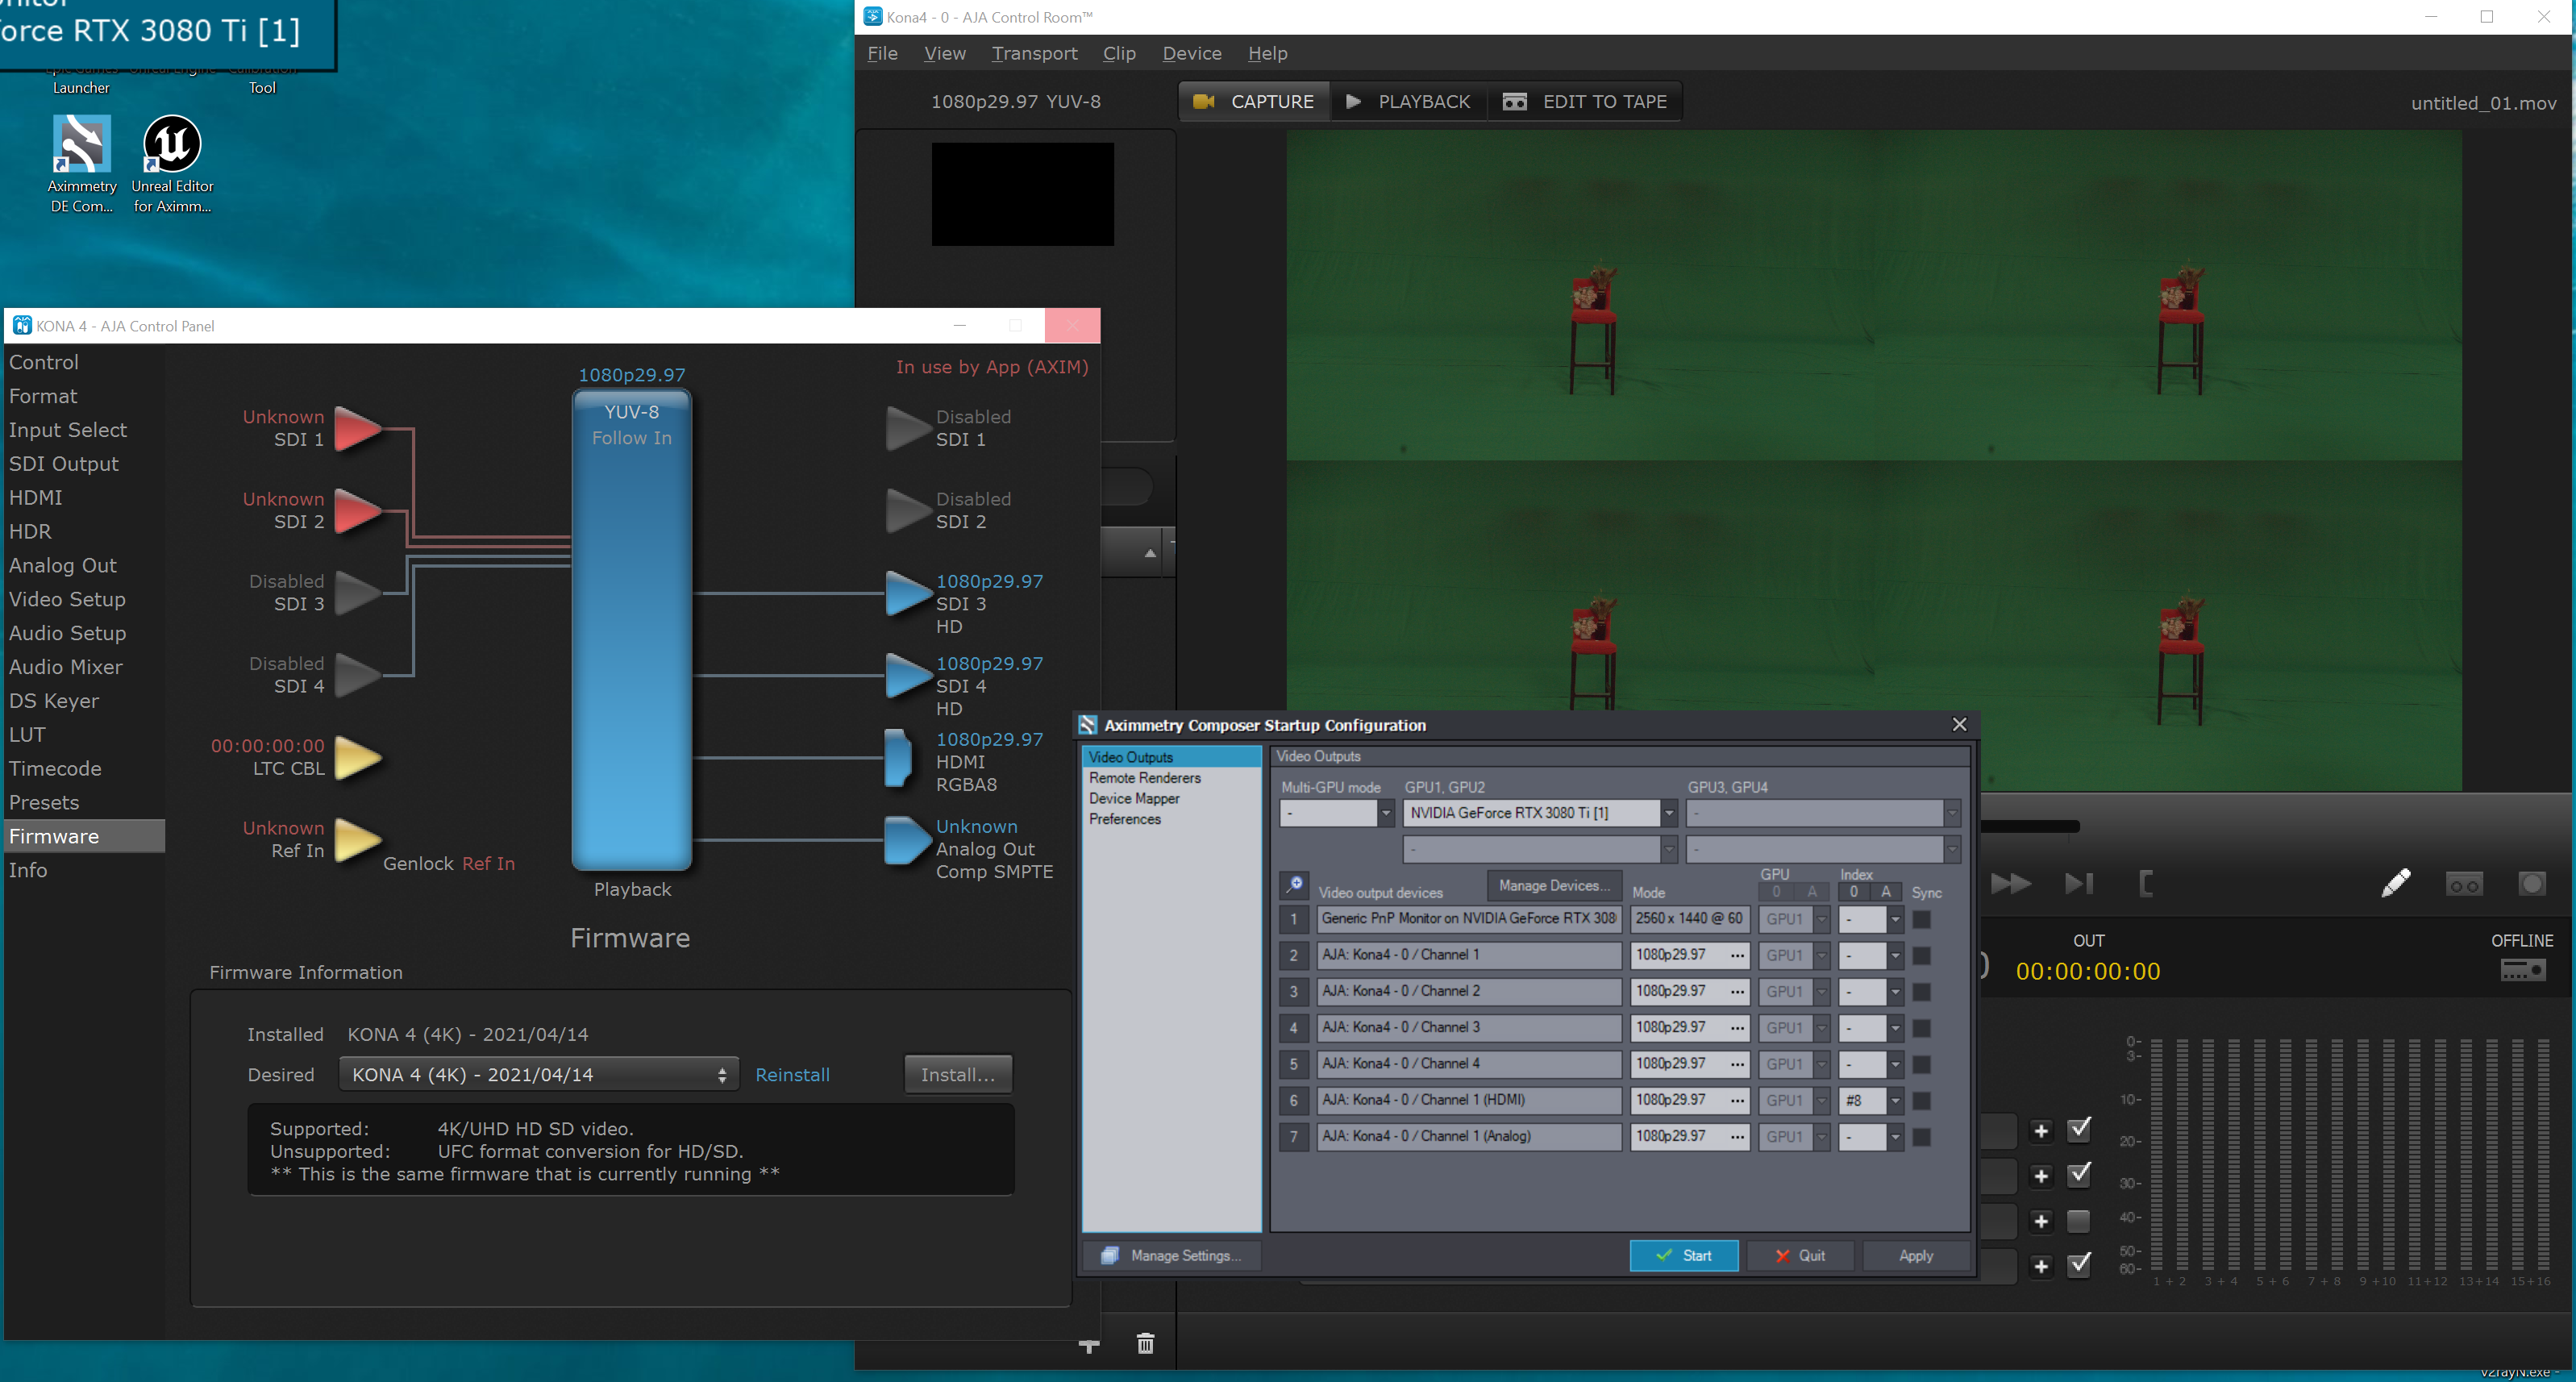
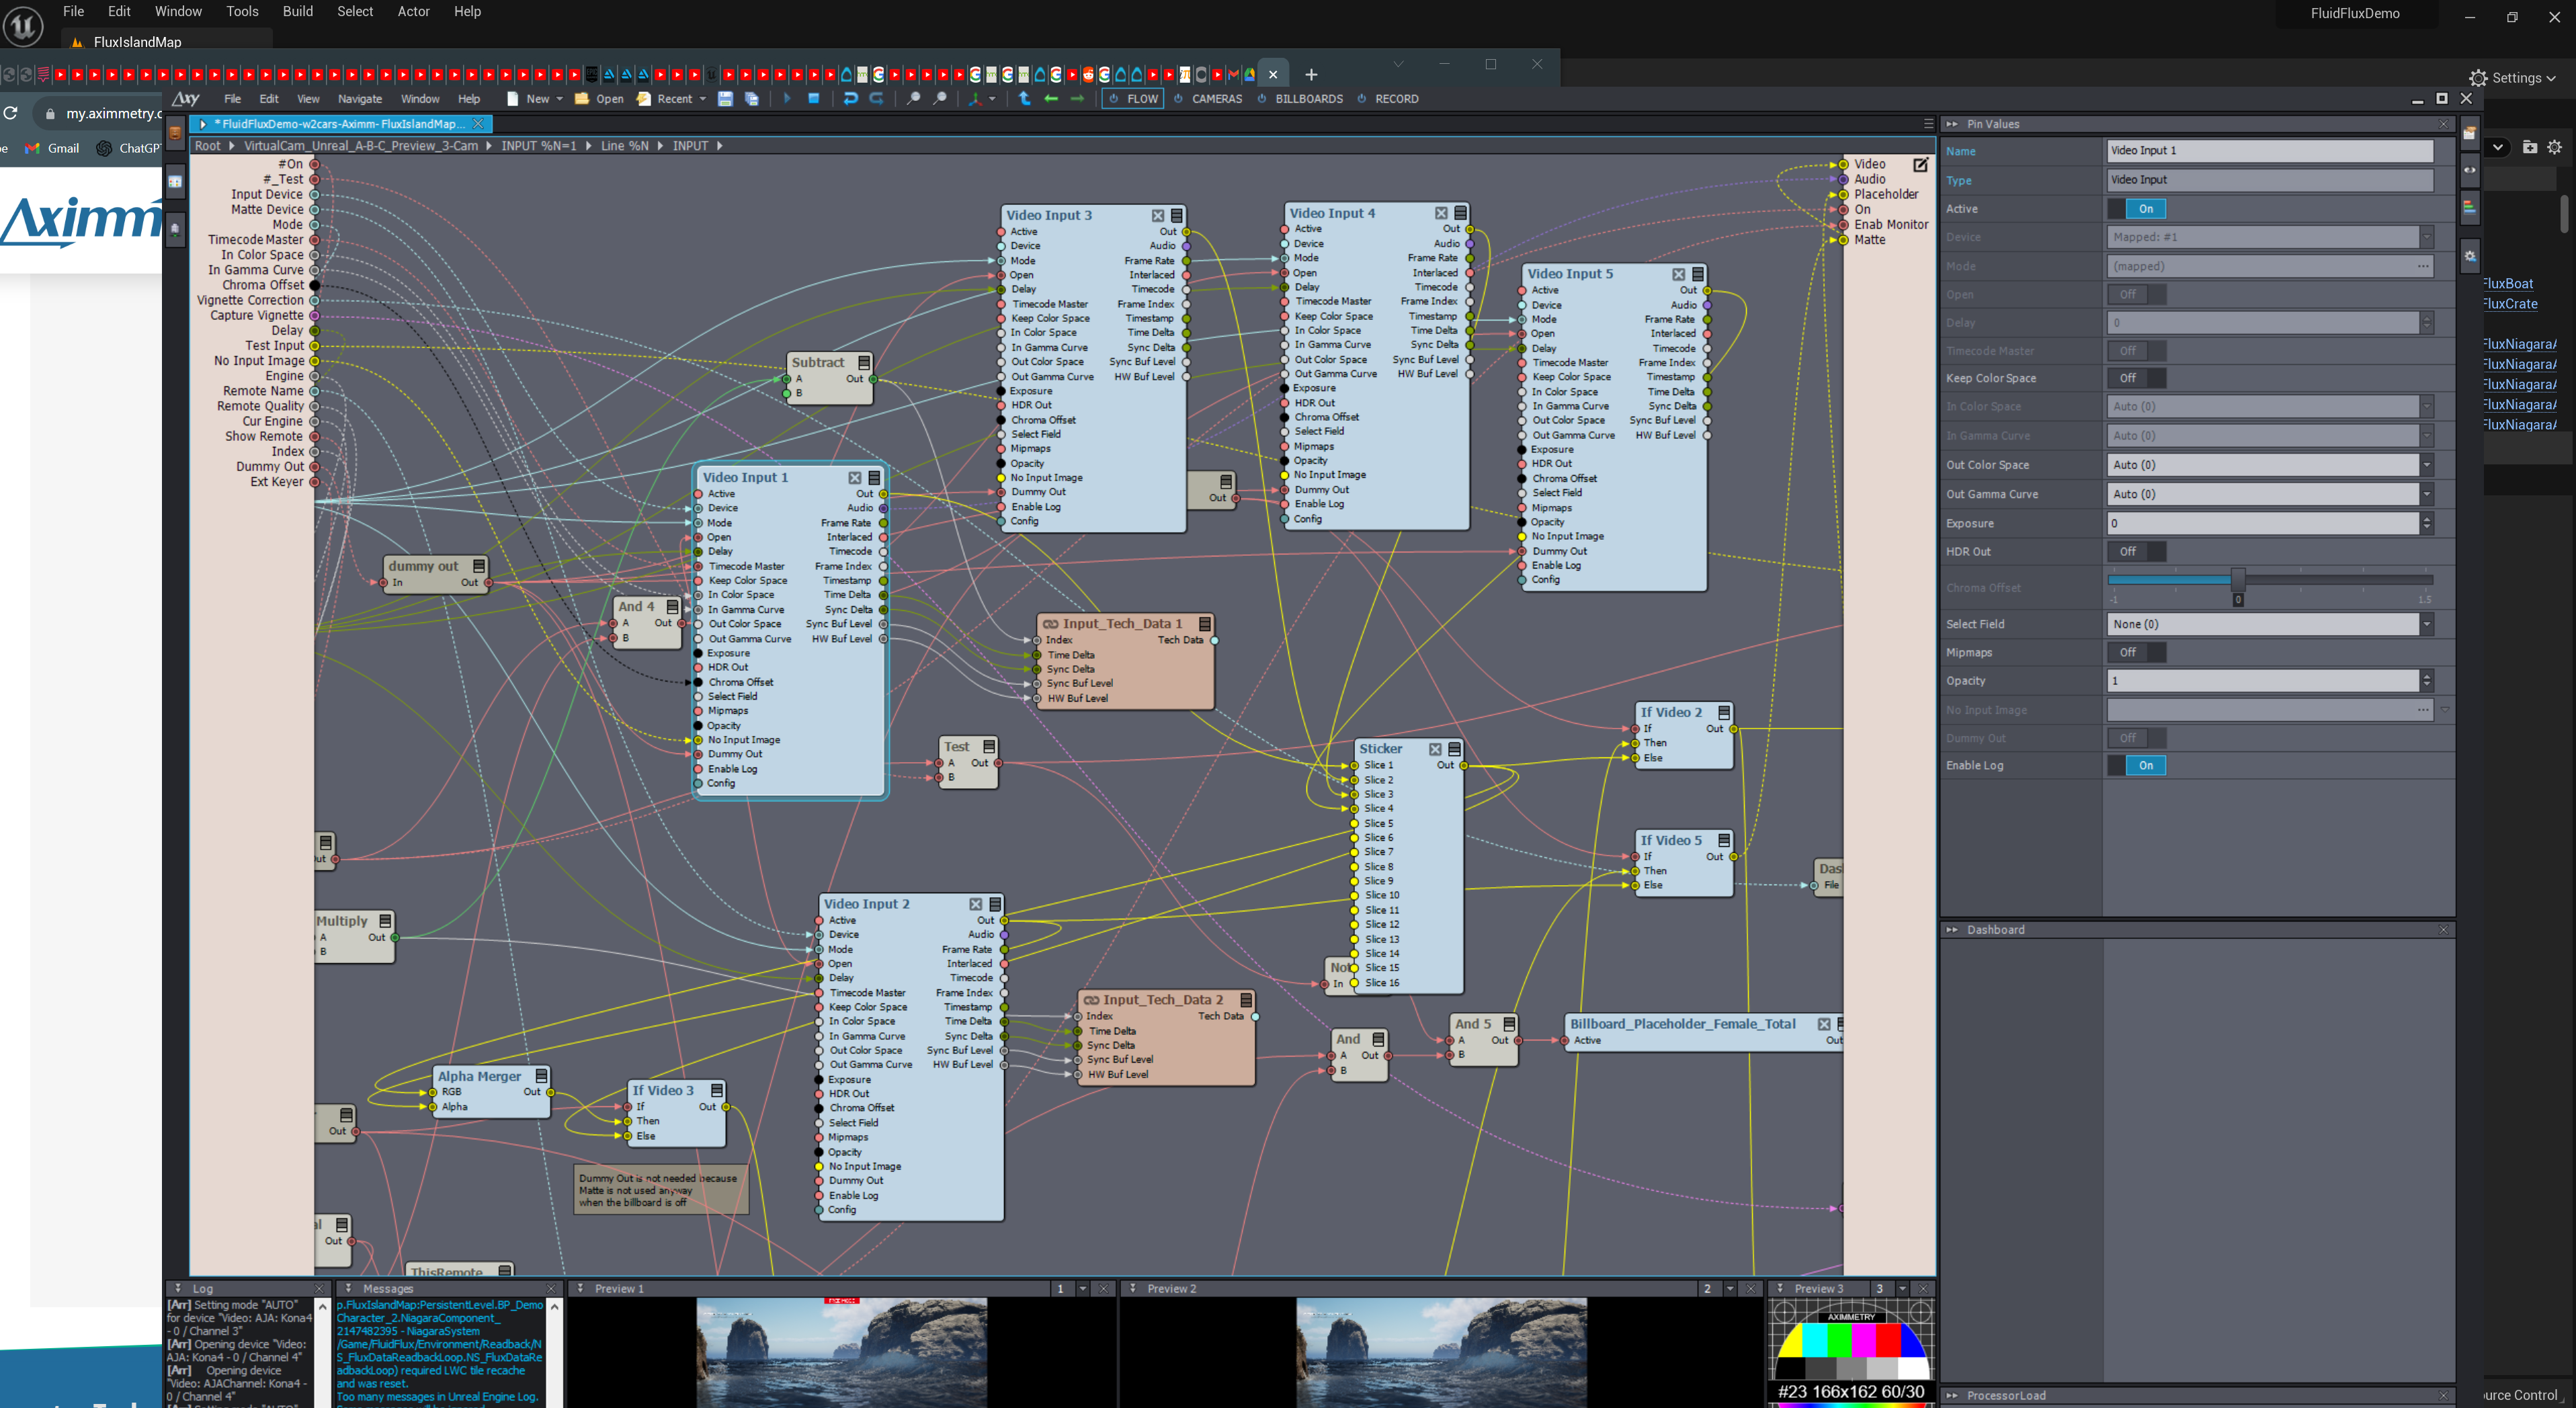
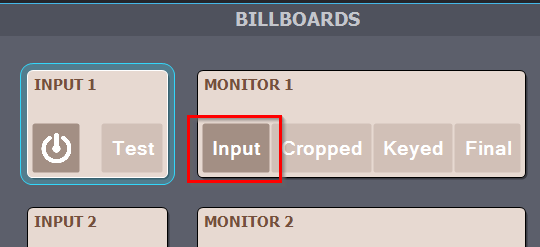
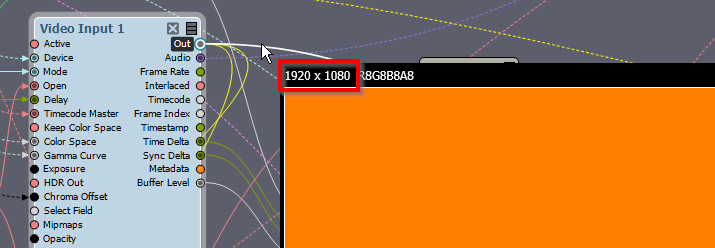
As you can see in the screenshot below when I switch to Aximmetry under AJA 4K Input setting the signals are still split into 4*1080p, not 1*4k in Aximmetry. I just don't know how to assemble the four 3G signals into one 12G/4K SIGNAL for Aximmetry input.  Please help. Thank you!

Nick


   Nick Bryant

 
Profile Image
Nick Bryant
  -  

Hoping that Ahmed@Aximmetry could solve this problem for us. Thank you!

 
Profile Image
Nick Bryant
  -  


Profile Image
Nick Bryant
  -  


Profile Image
Nick Bryant
  -  

Hoping that Ahmed@Aximmetry could solve this problem for us. Thank you!

 
Profile Image
Eifert@Aximmetry
  -  

Hi,

Sadly Quad link for AJA Kona 4 is not supported in Aximmetry.

But you can modify the camera compounds to put together the 4 video signals into a 4k video.
You will need to do the following in the case of Tracked camera compounds (virtual and other camera compounds are very similar so you would need to do almost the same in them too):

Right-click on the Camera compound and select Edit Compound In-Place:

After this, enter the camera compound by double-clicking on it.

Find inside the INPUT %N=1 compound and do the same:

Note, there are ...%N=2 and %N=3... compounds for the different inputs that you can find in the INPUTS control board.
With the CTRL+F shortcut, you can search for modules inside opened compounds in the Flow Editor.


Enter the input compound by double-clicking on it.

Find inside and enter the Line %N compound:

And find inside the INPUT compound, Edit Compound In-Place, and enter it:


Inside, you will need to duplicate 3 times the topmost Video Input 1 module. You can actually easily duplicate and keep the connections of a module if you hold down ALT and move a module with the left mouse button. ALT copy is demonstrated here in the 2nd video of the paragraph: https://aximmetry.com/learn/virtual-production-workflow/preparation-of-the-production-environment-phase-i/scripting-in-aximmetry/flow-editor/flow-editor/#interacting-with-nodes
Then you should add a Sticker module. And connect the 3 new Video Input modules and the original Video Input module's Out pin to the Sticker module. And connect all the connections coming out from the original Video Input module's Out pin, to the Sticker module's Out pin. To do so, you can use SHIFT + left mouse click to change a connection's source module, it is demonstrated in this paragraph: https://aximmetry.com/learn/virtual-production-workflow/preparation-of-the-production-environment-phase-i/scripting-in-aximmetry/flow-editor/flow-editor/#disconnecting-and-changing-pins-connection 
And set the Sticker module's Columns and Rows pins to 2:

After this, you just need to set the 3 new Video Input modules' Device pins to your separate AJA inputs (2,3,4).


Note: Do not use the Save In-Place Modifications option on these compounds, as these compounds are located inside Aximmetry's library! If you do, Aximmetry will overwrite your saved compound the next time you install or update Aximmetry.

If you want to know more about what kind of compound editing we just did, then you can read more about compounds and linked compounds here: https://aximmetry.com/learn/virtual-production-workflow/preparation-of-the-production-environment-phase-i/scripting-in-aximmetry/flow-editor/compound/ 

Warmest regards,


Profile Image
Nick Bryant
  -  

Hi, Eifert@Aximmetry,

Thank you soooooo much for your heartfelt help and considerate orientation on working this issue out, which made the setup of 4K signal going into Aximmetry easy to follow. 


Sorry for the late response as our studio has been undergoing moving the last month yet not finished setting up everything. I've just had my hands untied to look into the details of 4K setup issue these days.  While I've followed your instruction once and for all I wonder if the below video quality is the expected 4K quality via the signal combined with 4 compounded ones going into Aximmetry as you tutored us. 

the video we just shot using your camera compound method: 

https://www.youtube.com/watch?v=AAsJpbsZ3JA

I'm using a BMD URSA 4K Pro to shoot this test video. How to check if my video feed is recording with a 4K quality then?  This is Q1.

Q2: As you can see from the below shot that INPUT %N=1, INPUT %N=2, INPUT %N=3 are showed up as you told, do I need to modify each of them to form the compound signal of 4K as we do for INPUT %N=1?


Q3: your warning helped me a lot. "Note: Do not use the Save In-Place Modifications option on these compounds, as these compounds are located inside Aximmetry's library! " I saw the prompt dialogue with this warning upon closing the project. So I didn't close it. I don't know how to save this 4K settings after all. Kindly specify. I'll leave this project open on my PC until I get your affirmative guidance on how to save this right only for this project/ and for all the projects hereafter. 

Q4: As you can see from my video that even though the input signals are set to 4K , the final output is still 1920*1080 the recording setting is not compatible, should we set the recording resolution to 4K as well? By how? Kindly specify. 

Last again, many thanks to your help on solving this problem for our studio. Your dedicated service is very highly appreciated. 

 
Profile Image
Nick Bryant
  -  

Well, after I set the Rendering to 4K from the Preference options via hotkey Ctrl +P, the output is now 4K. However I cannot tell the difference from the Before vs After shot below. Kindly give me some advice. Tks.  Nick


Profile Image
Eifert@Aximmetry
  -  

Hi,

The resolution of the video input doesn't determine your recording or rendering (virtual scene) resolution.
To set rendering resolution, go to Edit->Preferences->Rendering - Frame size:

This will also set the recording resolution unless you change it to something else in the Video Recorder module. It also sets the default resolution in many other modules.

Note, that the higher resolution will consume more of your computer's hardware resources (GPU especially).

There are benefits to having higher resolution video input than rendering resolution. For example, you can produce better-quality keying with higher resolution video inputs. Or when your billboard is zoomed on in the virtual world, there will be more pixels to show.

I can not tell what is the case in your screenshot, you should have compared the different resolutions without the virtual world. If you want to do so, you can select Input here:

Also, the screenshot itself is not in 4k, so it is very hard to compare it. However, your camera image has lots of noise and that can be the result of many things, like high ISO. And this kind of noise won't be fixed by higher resolution recording.


You can check any video data's current resolution by peeking on it:

After the Sticker module, it should show you a 4k resolution.
To make absolutely sure that your camera is recording in 4k, you should check in the camera's menu if it is recording in 4k. Afterall


When closing the document you can choose Leave All Open or Save:

Just don't use Save Selected.


The three INPUT compounds:

belongs to the 3 INPUT on the BILLBOARDS control board and its related settings:


So if you want to use more than one input or billboard, with the same 4k capture card modification, then you will want to modify those INPUT compounds too.

One way to do so is to save your edited INPUT into a new compound.
First, Unlink your edited INPUT compound:

Then save it with Save Compound And Link...:

And then you can change the other INPUT compounds to your saved compound, by changing their Import Source:

This way you can easily apply these changes to other compounds or projects.
You can read more about Linked Compounds here: https://aximmetry.com/learn/virtual-production-workflow/preparation-of-the-production-environment-phase-i/scripting-in-aximmetry/flow-editor/compound/#linked-compound

Warmest regards,


Profile Image
Nick Bryant
  -  

OMG, your professional response is like a Wikipedia of Aximmetry !

Thank you for all the effort and time spent on solving my issue! that helps a lot. 

Best

Nick