Regarding the lens calibration issues of the new version of Aximmetry 2025.3

We are currently using 2025.2 and the latest 2025.3. We found that the same project can get good full coverage of the field of view in the old version. But in the new version, there seems to be additional distortion at the edges, which makes the picture not fully occupied.

Regarding the lens calibration issues of the new version of Aximmetry 2025.3

This is the effect of the old version

Regarding the lens calibration issues of the new version of Aximmetry 2025.3

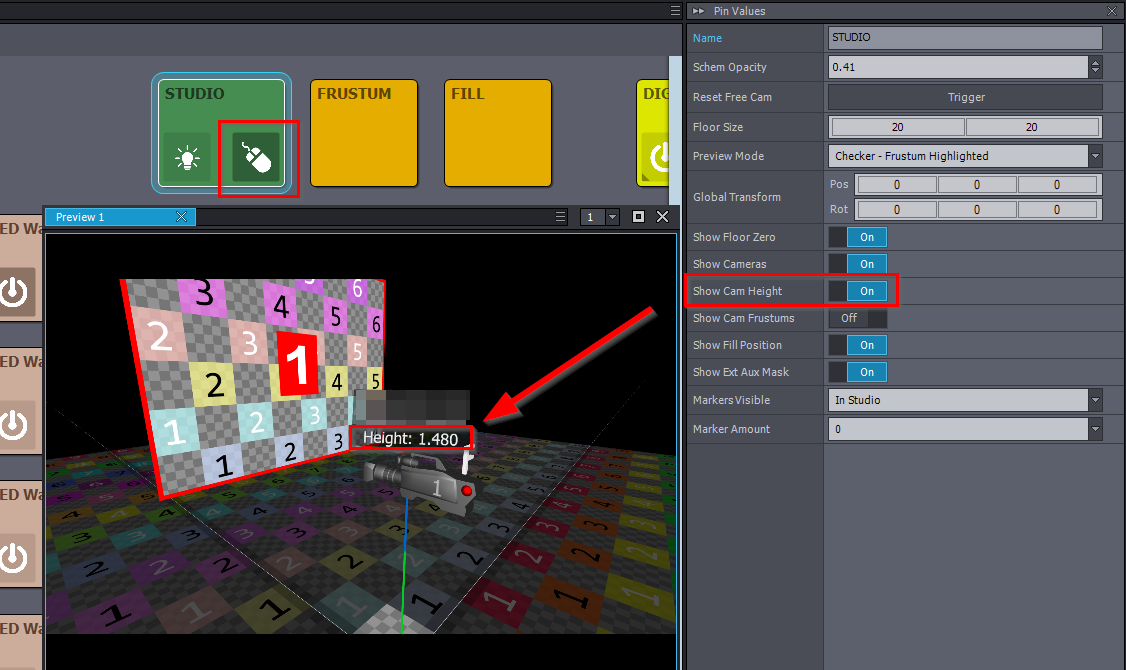
This is the effect of the new version

We tried to make a new lens file, but when we used the latest camera calibrator in combination with redspy, we found that when the zoom device is empty, it will not be able to proceed to the next step of zoom calibration. But we have used stypehf to transmit the complete position and external lens data. If an additional free d information from redspy is added as a zoom device, the next step can be carried out. However, when we use stypehf for the tracking device and free d for the zoom as the signal input to the old calibration file, we will find that its tracking calibration movement will become very exaggerated. But if we remove free d, it will become normal. We are worried that adding the zoom device in this way will cause abnormal results. So we want to know how to do it and whether we have done something wrong.

We also noticed that when we unchecked the multi-machine option, the next startup interface seemed to hide this option, so we had to go back to the old interface to adjust it.

I hope to get your answer as soon as possible

   Miramage

Comments

JohanF
  -  

Wouldn’t you do the lens calibration with the Stype system? The Stype calibration is much, much better than the Aximmetry calibration and you shouldn’t need to use FreeD either. The Stype tracking data comes complete with lens data. No need to use the Zoom Device. 

Eifert@Aximmetry
  -  

Hi,

If you are also using StypeHF for the Zoom device, then you experience irregular movement tracking because positional data is applied twice. The Zoom device parameter can also function as PTZ (rotation and position) tracking on a tracked camera arm (in that case, the tracked camera arm must be set as the Camera Device, and the PTZ camera as the Zoom Device).

Many changes were introduced in version 2025.3, particularly in the INPUT panel. Some of these changes require updated configuration, as older settings cannot always be copied directly. It is likely this is why you are experiencing your issues.
For example, if you previously used the Manual Lens setting, you will now need to configure some of the Override settings instead. The parameters for the INPUT panel are documented here: https://aximmetry.com/learn/virtual-production-workflow/green-screen-production/tracked-camera-workflow/inputs-tracked-camera/ 

Note, the Edge Expand parameter is designed to address cases where lens distorted rendered scene doesn't cover the entire frame (like in your second screenshot). If you are using a tracked green camera compound, refer to the following link: https://aximmetry.com/learn/virtual-production-workflow/green-screen-production/tracked-camera-workflow/scene-control-panel/#edge-expand  

Warmest regards,

Miramage
  -  

Hi,

In fact, we are currently working with the LEDWallCam_3-Cam_4-Wall. We mainly use it for shooting LED screens. We haven't found the corresponding Edge Expand option, which might only exist in the trackcam. The result of our shooting still has a black border around it.

We are still using redspy for camera tracking. We tried to select the option to obtain external lens calibration data in the tracking calibration, but the result didn't seem much better.

We still have doubts about lens calibration because no matter how we make the lens file, as long as the camera moves or rotates slightly, the virtual wall and the LED screen will always be misaligned. This is very frustrating and we can't achieve a perfect virtual production effect. At the same time, because the cameras we use are too heavy and the pitch angle of the tripod is limited, it takes a lot of effort and time to calibrate the ground each time.

We wonder if there is a more convenient way to calibrate the ground. We hope to get more guidance in this regard.

Eifert@Aximmetry
  -  

Hi,

The Edge Expand parameter for LED Wall camera compounds is located in the FRUSTUM panel. Since your original post, we have published an initial version of the LED Wall documentation, which could be very helpful for you. This documentation also includes a description of Edge Expand here: https://aximmetry.com/learn/virtual-production-workflow/led-wall-production/setting-up-the-led-walls/frustum-adjustments/#edge-expand  


You mentioned:
"as the camera moves or rotates slightly, the virtual wall and the LED screen will always be misaligned"

This strongly suggests a tracking issue or an incorrect placement of the LED Wall in the camera compound. Test your calibration and tracking by following the instructions on this page: https://aximmetry.com/learn/virtual-production-workflow/tracking/testing-of-the-calibration/testing-of-the-calibration/ 
To set up the LED Wall properly, follow these pages:


You mentioned:
"At the same time, because the cameras we use are too heavy and the pitch angle of the tripod is limited, it takes a lot of effort and time to calibrate the ground each time."

Are you referring to tracking calibration using the Camera Calibrator? We are aware that many camera setups cannot tilt down as much as required, and we intend to provide fixes or workarounds in the future.
However, note that this is not ground position calibration. That calibration calculates the position of your camera (camera sensor) relative to the tracking device (tracking position).

The alignment of the scene and your scene’s virtual floor with the physical floor is done within the SCENE panel of the LED Wall camera compound. You can find more information here: https://aximmetry.com/learn/virtual-production-workflow/led-wall-production/setting-up-the-inputs/scene-positioning/ 
If your tracking system does not know or determine your studio's ground level, you can use the ORIGIN panels:  https://aximmetry.com/learn/virtual-production-workflow/tracking/advanced-information-and-features/camera-and-head-transformations/#origin-panels 
However, RedSpy systems usually know where the ground is and send tracking data with the correct height.

Warmest regards, 

Miramage
  -  

Hi,

Thank you for your prompt reply!


We just discovered the documentation has been updated and will take the time to review it again for testing.


We tried the `edge expend` function in that module, which is meant to widen the projected image onto the LED wall, but it didn't solve the problem of the external extension not filling the screen.


Regarding the LED misalignment issue, we will again verify the LED size and actual display resolution. However, based on our previous screen calibration experience, we have adhered to and ensured that the image size displayed on the LEDs is consistent with the specifications in the documentation.


We suspect that a lens calibration issue is causing the LEDs to misalign. When using the automatic alignment function, the image near the center of the LEDs aligns correctly, but there is always a slight misalignment at the edges. This means that when using the automatic alignment function, our three existing LEDs cannot be perfectly aligned at the seams. This problem exists regardless of whether the tracking data provided by Redspy or the files created using Aximmetry's lens calibration are used. Meanwhile, the problem encountered when moving the camera isn't a large-scale misalignment, but rather a slight, cumulative misalignment that only becomes completely misaligned between the virtual screen and the real LEDs after rotation or displacement to a certain extent.


After analyzing the problem, we know it's likely due to issues with the lens calibration data, but we don't know how to adjust it appropriately. We will try to resolve this after reviewing the existing documentation. Or could you provide some suggestions for reference?


Regarding your explanation of ground calibration, can we understand that it's a necessary setting for tracking systems that cannot provide accurate height for positioning, or for different tracking systems to use the same set of LED settings simultaneously? And systems like Redspy, which provide accurate data, don't need this calibration and can rely on their own stypehf data?

Eifert@Aximmetry
  -  

Hi Miramage,

Thank you for reporting this, as there is indeed an issue with Lens Distortion that happened between versions 2025.2 and 2025.3. We apologize for the inconvenience.

The issue is related to the Camera Compound and not the quality of your lens calibration file. Specifically, when using Lens Distortion in a multi-machine setup where the Controller machine only renders the Digital Extension, the Digital Extension is not being correctly distorted by the lens file. You can read more about LED Wall multi-machine configurations here: https://aximmetry.com/learn/virtual-production-workflow/led-wall-production/finalization/multi-machine-led-setup/#led-wall-x-control-panels 

As a workaround, you could turn on an LED Wall panel on the local machine and place it somewhere it won't be visible in your scene. Making the Controller machine no longer only render Digital Extension and not using the Animation Delay pin.
Alternatively, you could downgrade to version 2025.2.0 until a fix is released in Aximmetry 2026.2.0.
Or if you prefer, I can guide you through modifying the LED Wall camera compound to fix this in your project. While the changes are somewhat complex, it is certainly doable.


If you are unsure about your lens calibration, I recommend testing it as detailed here: https://aximmetry.com/learn/virtual-production-workflow/tracking/testing-of-the-calibration/testing-of-the-calibration/ 
For a better understanding of the setup process you see on that page, start with this document: https://aximmetry.com/learn/virtual-production-workflow/tracking/testing-of-the-calibration/scene-setup/ 
You could even use the same procedures in the Basic Calibrator to correct individual calibration points.


Yes, you need to set the ground for tracking systems that cannot provide height in positioning. Or for different tracking systems, so that they share the same coordinate system and remain aligned with each other.
However, Redspy will likely provide accurate height data. If all your cameras use the same Redspy system, they will share the same coordinate system, so you don't need to use ground detection for that purpose either.
You can easily display and view the camera's height in the STUDIO view by turning on the Show Cam Height parameter. This value represents the distance from the ground to the camera's image sensor:

Also, in the above view, you can calculate/measure the distance between cameras and compare it to real-world measurements. This helps ensure that the tracking positions of the different cameras are correctly aligned with each other.

Warmest regards,

Miramage
  -  

Hi,

Due to issues with the new version, we have reverted to version 2025.2 for testing. We are also very willing to modify the LED components, as we believe this will deepen our understanding of the aximmetry functionality.


We tested the old tracking calibration file according to the documentation. When using the basic calibrator, we found it performed well in most cases. Only when moving the camera did the virtual markers show a slight offset. There was no offset when zooming, rotating the camera up, down, left, or right.


However, when using the camera calibrator, there was a slight offset in almost all cases, especially when zooming. Rotating the camera to the edge of the frame also resulted in a slight offset, and there was also a small offset when moving the camera.


Why is there such a difference between the two software programs used for lens calibration? How should we modify the file in this situation?


Meanwhile, we used this calibration file to try calibrating the wall again. Here is our calibration method:


1. Manual Placement. After setting the relative relationships of the three LEDs in the same way as in reality, we dragged and moved them together onto the LED wall in the frame for manual alignment. This is the most reliable method we've tested extensively, but deviations still occur, especially with ground-based screens where deviations are unavoidable.

Regarding the lens calibration issues of the new version of Aximmetry 2025.3

2. Automatic Placement. We use the system's automatic placement to allow them to calibrate their positions automatically. However, a visible gap appears in the center of the image, and they can never perfectly align with the actual LED screen.

Regarding the lens calibration issues of the new version of Aximmetry 2025.3

We want to know why this happens and how to solve it.


We also checked Redspy's height data, which is 1.082m, while Composer shows it as 1.428m. We set a height offset of 0.3 at the camera origin (otherwise, part of the screen would sink into the ground during calibration, making it impossible to confirm the accuracy of the calibration), but even adding them together didn't give us this result. Is it because the camera calibration file also provides an additional height?

JohanF
  -  

You’re making this way more complicated than it should be. Just calibrate the lens and tracking using Stypes own included calibration tools. No step involves any calibration in Aximmetry and definetively not the floor height calibration. There shouldn’t be a need to set manually since Stype is sn absolute tracking system. 

Make sure you’re Unreal scene floor is at world zero, or note the floor height offset from zero in Unreal and offset by the exact same amount in Aximmetry. If your LED wall floor is the world zero floor height, you must also offset this distance from the true floor height precisely by the distance between the real floor (which the camera is standing on) and the raised LED floor. Otherwise the tracking data will come in with the camera appearing lower than it actually is, by the exact distance offset between the floor and the LED floor. 

Eifert@Aximmetry
  -  

Hi,

As Johan mentioned, if Stype provides height data, you should not need to change anything in the Origin panel in Aximmetry. In Aximmetry, at most, you should check whether the height is correct. If it is not, you will need to find the issue in Stype (unless you have already added the height in the calibration profile or Origin panel, which you should avoid).

It is not entirely clear why you added 0.3m in the ORIGIN panel.
If you did this because the LED walls in your real-world studio are positioned higher than the camera, you should correct it using the STUDIO panel's Global Transform parameter. This will move all the LED walls together.
If you added the value because the virtual scene's floor is not at a height of 0, you should use the SCENE panel's Base Cam Transf parameter to make this correction.

For now, I recommend using version 2025.2 instead of editing the camera compound. Editing the camera compound will be quite complex in this case, and we have not fully tested the fix yet. Also, there isn’t much to learn from simply applying this fix. However, if you want to deepen your understanding, you can open the camera compound, explore how things work, and experiment with different modifications. If something goes wrong, you can always revert the camera compound to its original state. This hands-on approach will likely help you learn much more.

Regarding your screenshots, unfortunately, this is a common issue with LED wall setups that are not perfectly flat or uniformly curved. Minor offsets can exist between individual LED wall blocks, so they may not form a perfect right angle. In your case, it is possible that only the floor is misaligned, perhaps due to people walking or standing on it, which may have caused it to shift slightly over time.
For your setup, you might need to rely on manually placing the LED Walls. The gap between the LED walls in your second image appears large enough that the Digital Extension could be visible there (even though there are slight automatic corrections that can sometimes hide such holes in the final rendered picture).

The camera calibrator accommodates most common virtual production lenses, but there are instances where it may not be perfect, for example, with lenses that exhibit noticeable lens breathing. In those cases, you should use the Basic Calibrator to make adjustments. Alternatively, if Stype’s lens calibration produces better results for your setup, you can use that instead.

Warmest regards,