The effect called Vignette can cause a “darkening” effect towards the edges of the image of the camera. In the picture below you can see how a white surface can look like in your camera.

Vignette is caused by the characteristics of the camera and lens. Because of the vignette, during keying, the individual green pixels can have different shades in the input from your camera, even if your green background is evenly lit and it is one homogeneous surface.
The Vignette Correction could solve this problem by removing the darkening towards the borders of your camera's picture. Using Vignette Correction you can achieve better quality keying while using a fixed Zoom Tracked camera setup.
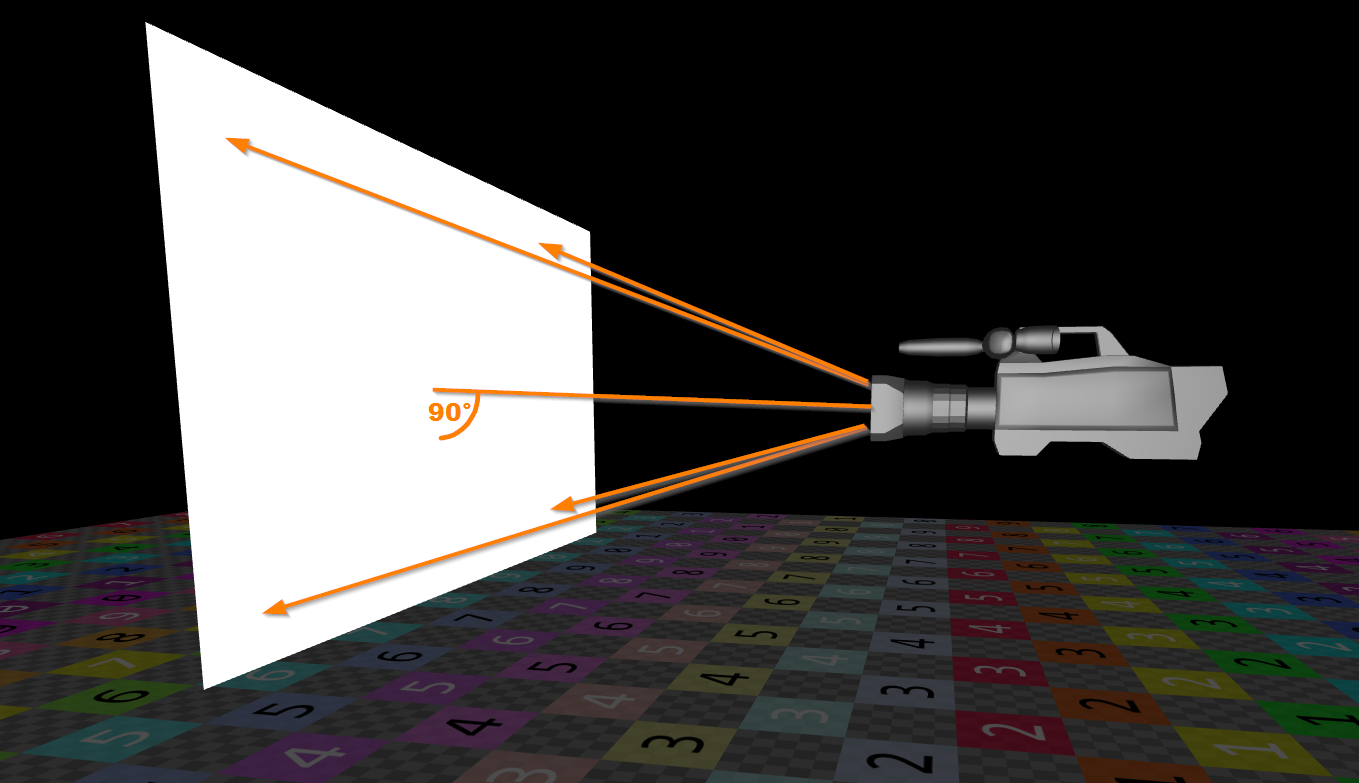
For Vignette Correction to work, you need to make a capture, with Aximmetry of the corresponding Input. You can find it under Inputs Control board \ Input (n) \ Capture Vignette.

This capture should be filled out with a homogeneous white surface.
For the best quality, you would use a led wall as the white surface.
If you don't have a led wall, we suggest using a big screen tv. In these case, you will probably have to move your screen up to the level of your camera and quite close to your camera (This way the image probably won’t be in focus, but it is okay).
You can easily put out a white screen on a monitor with Aximmetry, just use the Solid Color module:

If you don't have any homogeneous big enough white light source, then you can try using white cardboard. The white cardboard should be well-lit with diffuse white lighting.
To get the best results, your camera's picture should be close to overexposure. But, any part of the picture being overexposed will significantly reduce the quality of the Vignette Compensation.
To determine if the camera is overexposed or not, we suggest turning on the zebra ( https://en.wikipedia.org/wiki/Zebra_patterning ) in your camera.
When the zebra is turned on, you should increase the exposure until the zebra appears, and then turn the exposure just a little bit down until all of the zebra disappears.
Also, while the zebra is visible, it can give a good idea if your white surface is homogeneously white and evenly lit as the zebra should only appear in the middle of the picture where there is no vignette. If the zebra pattern is more numerous in one direction, then your white surface is probably not evenly lit.
In the next session, you can see a direct comparison of the keying with, and without Vignette correction. The pictures were made with the same camera, lens, and lighting setup, the only difference is the Vignette correction.
Preview during keying without using Vignette Correction:

Preview during keying using Vignette Correction:

Keyed result without using Vignette Correction:

Keyed result using Vignette Correction:
As you can see, after applying the Vignette correction, the Keying is much clearer around the corners of the green screen, therefore there is no need to increase the ‘Low Cut’ value any further (as it would be, when not using Vignette correction).